Why and How to use blend modes with textures
Romantic Texture Set
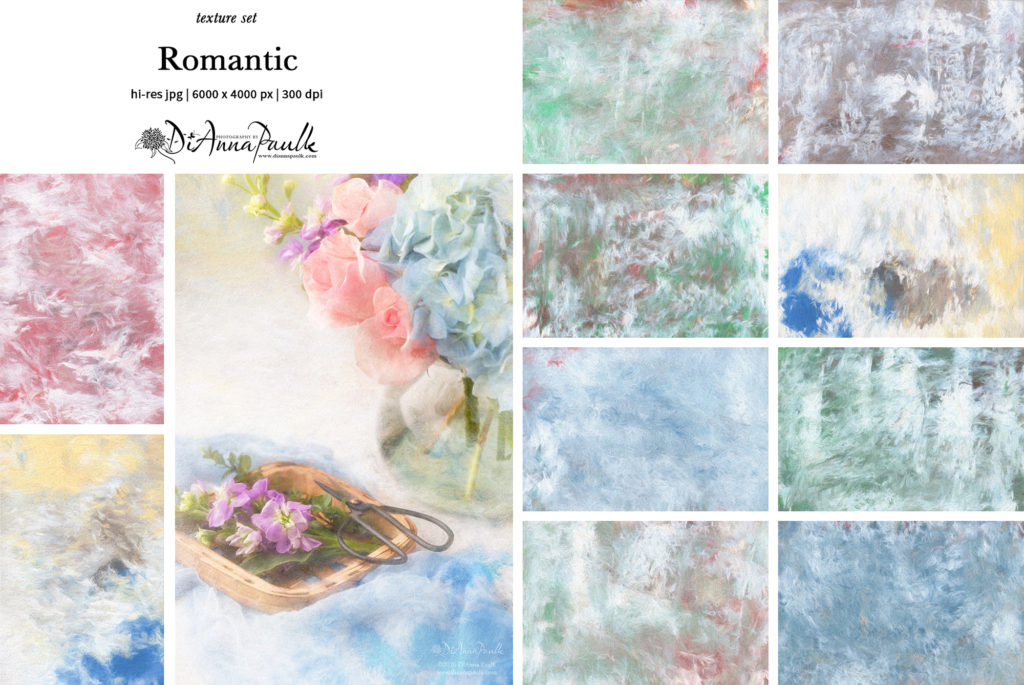
The texture set I’m introducing to the Etsy Shop this week is a very artistic texture. I named it Romantic because it was inspired by a particular painter of the Romantic Period. The set includes the color files shown here and also a black and white version of each texture to use when you don’t want to introduce color to your image.
In testing and using the textures from this set I found I was using a variety of blend modes so thought it would be a good week to talk about that in the Using Textures blog series.
Blending Modes
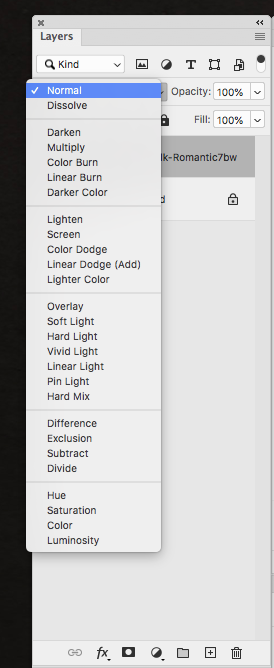
In the layers palette of Photoshop there is a drop down menu of blend modes. The blending mode controls how pixels in the image are affected by the texture. Most people who use textures are already aware of this feature, but in case you’re very new to using textures this is what it looks like:
Notice that lines divide the blend modes into those that darken, lighten, contrast, subtract (difference), and color.
Soft Light Mode
Most of the time textures are applied using the Soft Light mode. In Soft Light mode the texture will lighten or darken the image, depending on the base color.
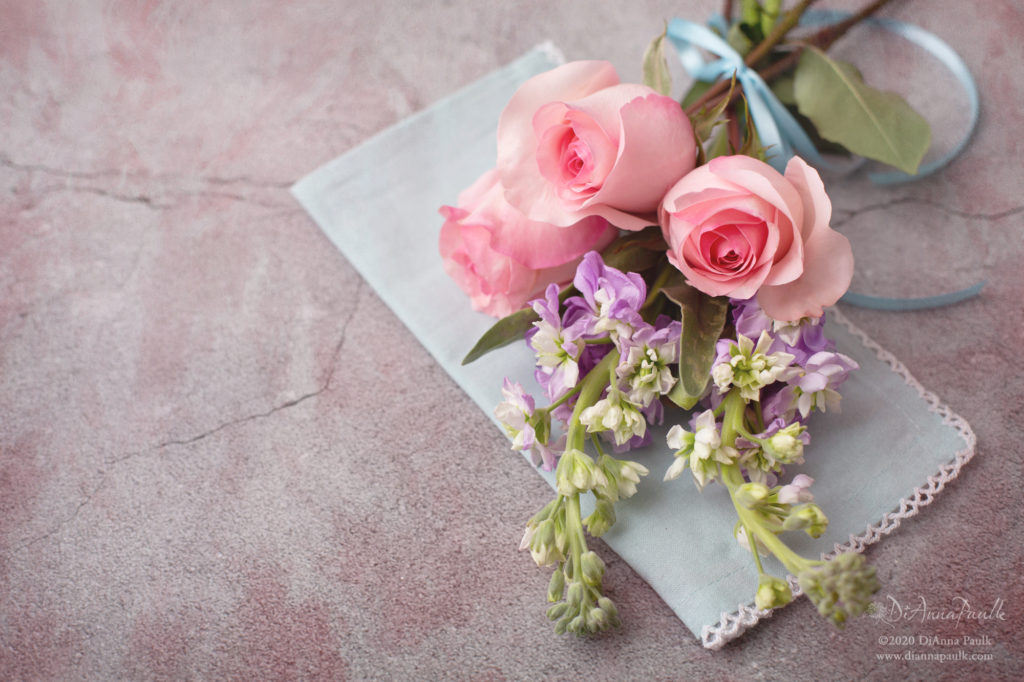
This image was edited using Romantic 2 in Soft Light mode:
Overlay Mode
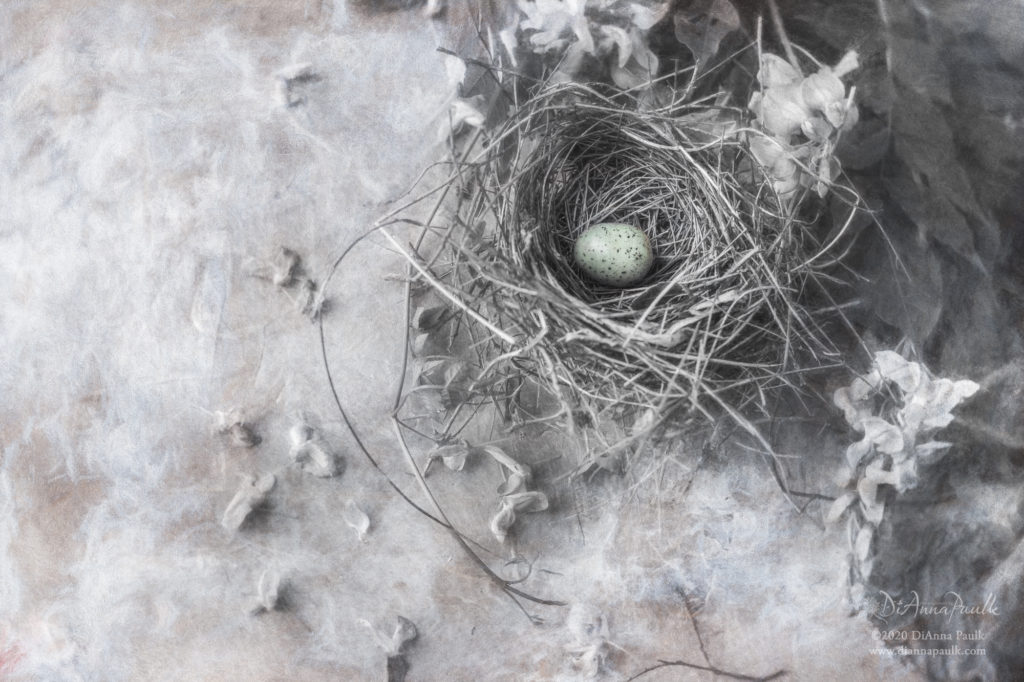
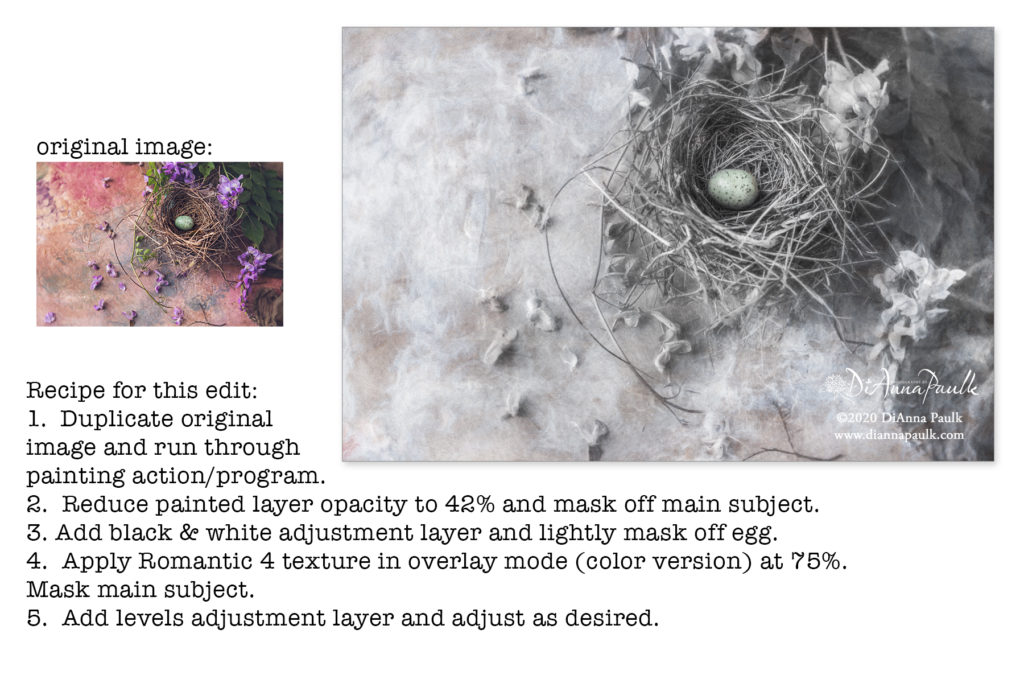
Overlay mode works similarly to Soft Light mode but with more intensity. This image was edited with the Romantic 4 texture in Overlay mode. The full “recipe” for the post processing is included below the image.
Screen Mode
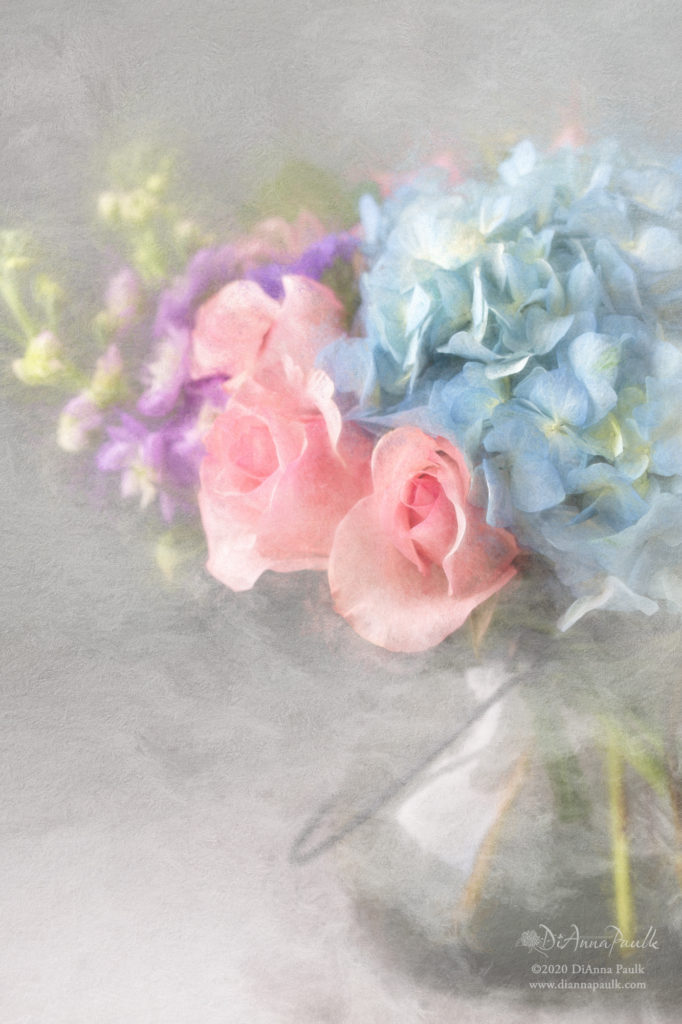
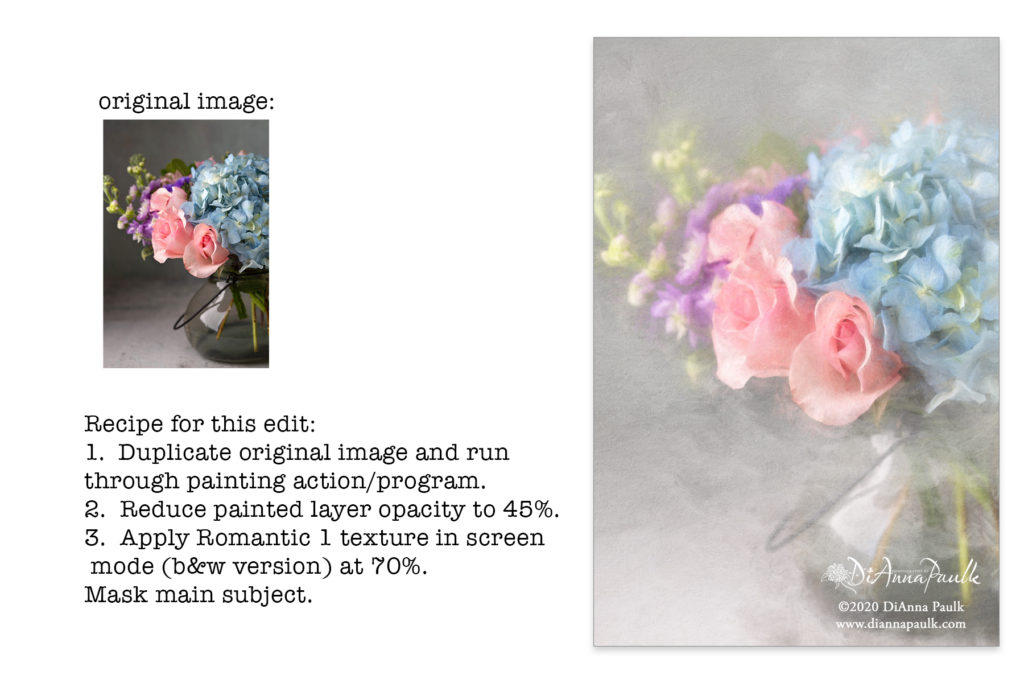
Screen mode lightens the image. Black is invisible on the texture layer. This image uses the Romantic 1 texture in Screen mode.
Hard Light Mode
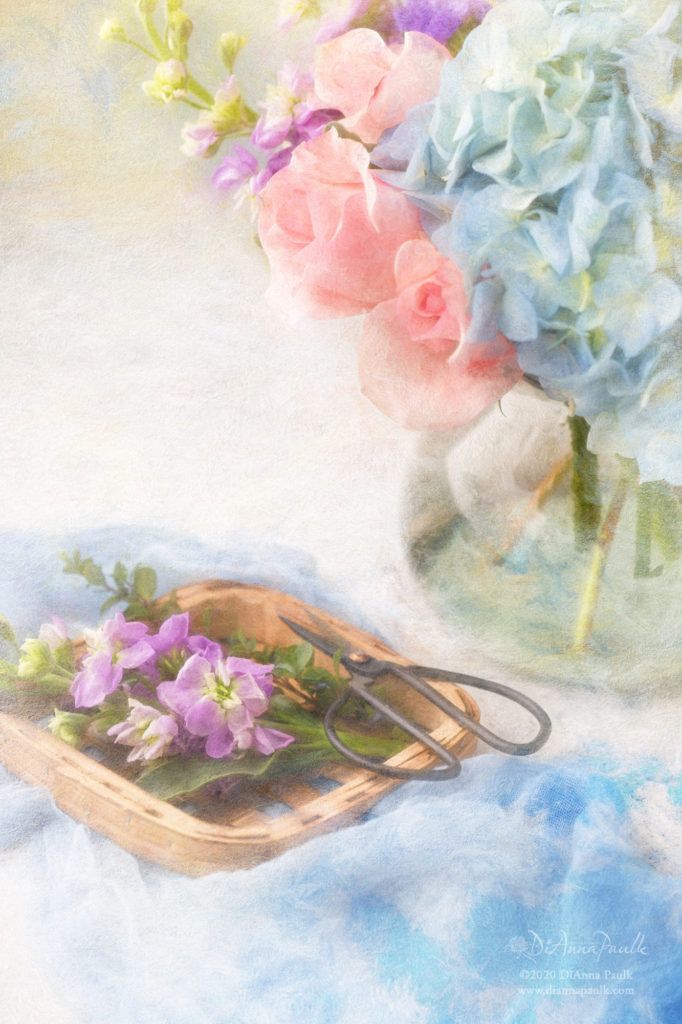
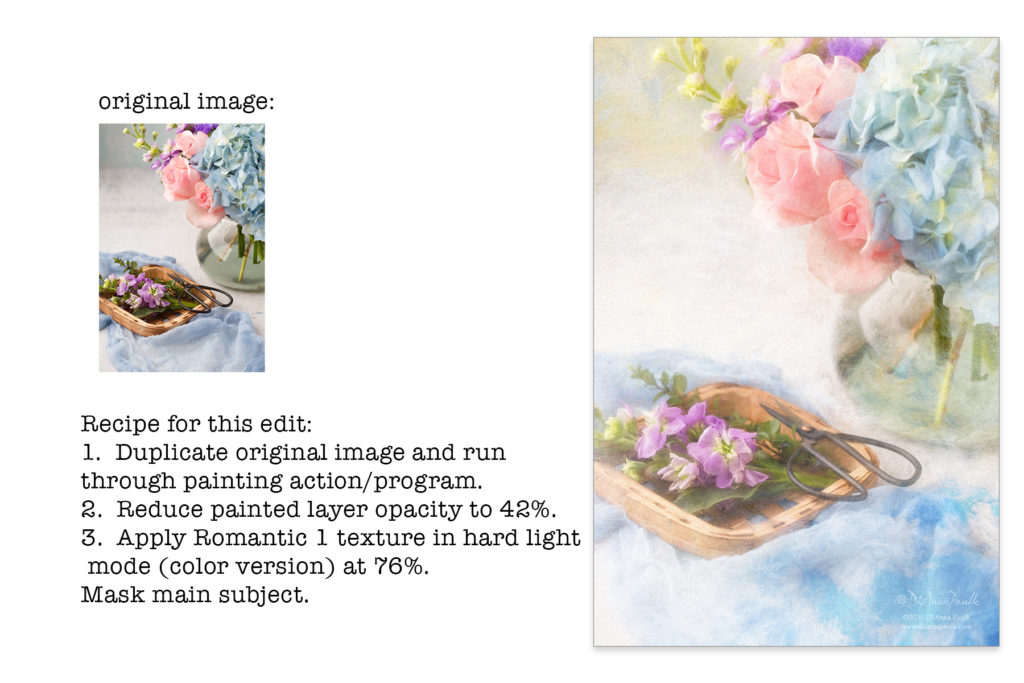
Hard Light mode increases the contrast of the base image with more intensity than the overlay and soft light modes. This image was edited with the Romantic 1 texture in Hard Light mode:
Multiply Mode
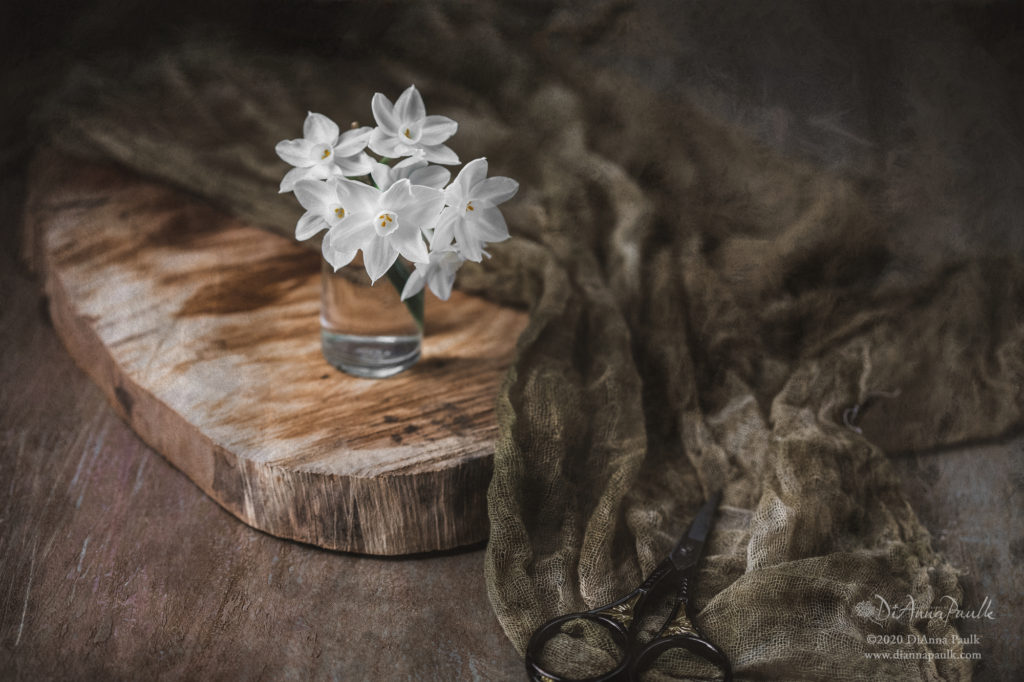
Multiply is somewhat the opposite of the Screen mode. Anything white in the texture layer will become invisible in the multiply mode. Anything black in the texture will become black in the multiply mode. The colors in between black and white will darken the image. This image was edited with Romantic 4 (black and white version) in Multiply mode:
I don’t remember ever using any of the other blend modes, but I still scroll through them when working with textures just to be sure.
Closing Thoughts and a Coupon Code
If you notice from the “recipes” included I did run some of my images through a painter program before applying the texture. When I was testing this texture set I found that sometimes there was just too much of a disconnect between the painterly texture and the photograph. A painterly layer with reduced opacity gave me the transition I needed between a realistic image and a painterly look. I did include samples of two images that were not put through that editing step so you could see what the textures looked like on a regular photograph.
As I often say, I lean far towards the artistic side of photography and make no apology for that. I’m thinking that most of us who love using textures with our photography lean that way! Textures just aren’t for all photographs or for all photographers.
This set is now available on Etsy. To thank you for reading all the way to the end of this post here’s a coupon code for you to use if you purchase the Romantic Set. Use code ROMANTICISM for 20% off this set. Romantic Texture Set on Etsy
I hope you enjoy using these textures and would love to see some of the images you produce.
If you missed the first two posts on using textures you can find there here:
Be sure to follow me on Instagram (@diannapaulk) so you’ll know when the next blog post on using textures is posted.
