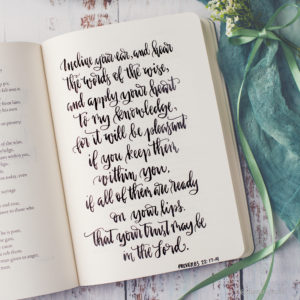
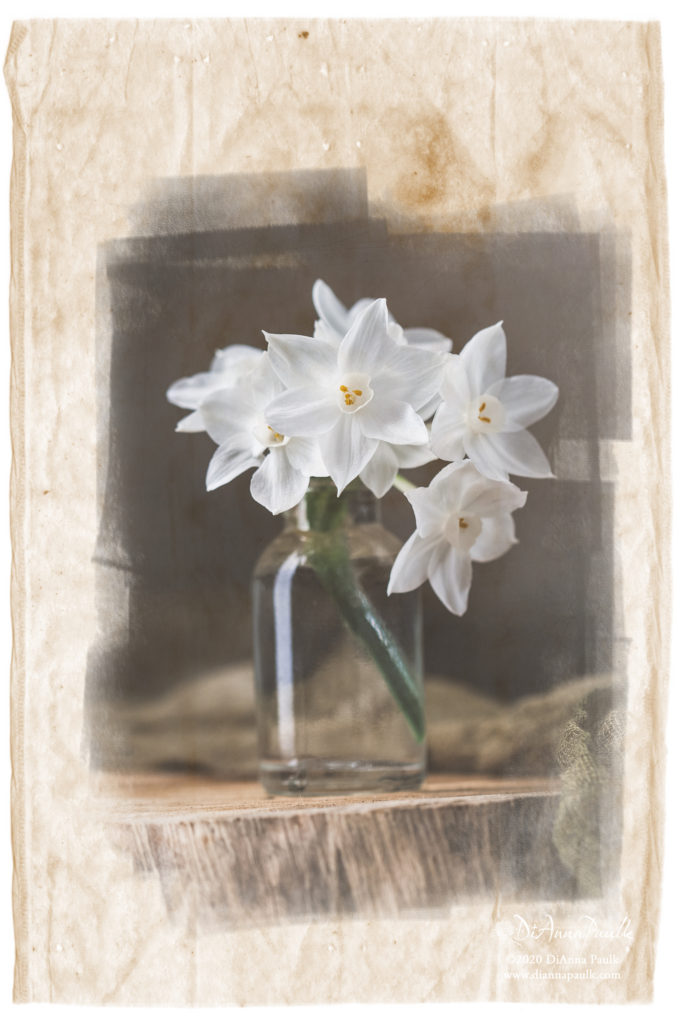
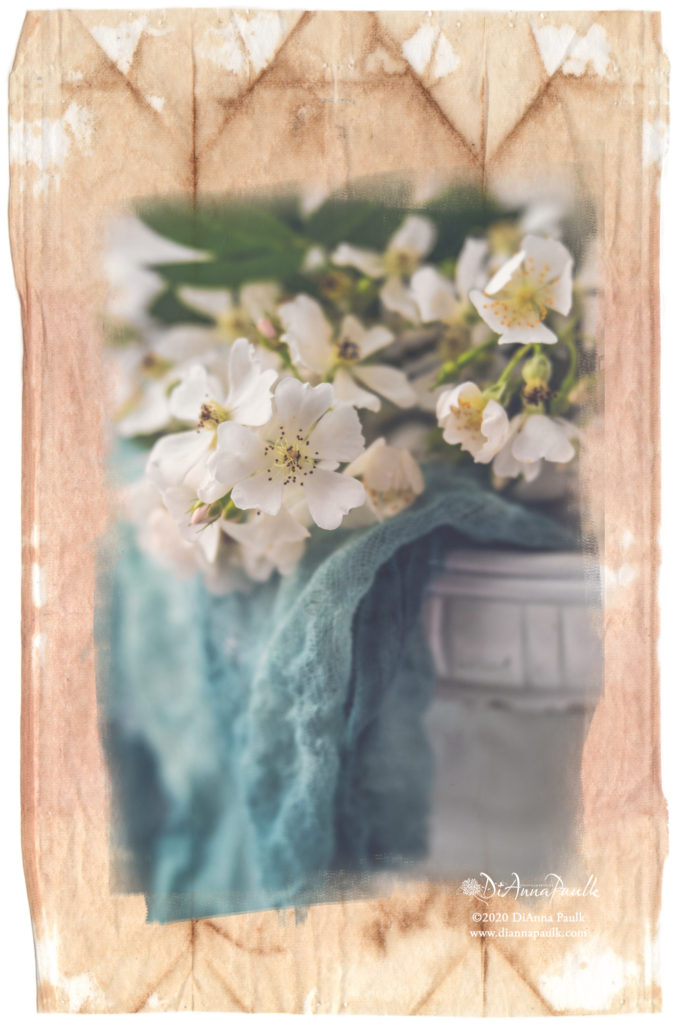
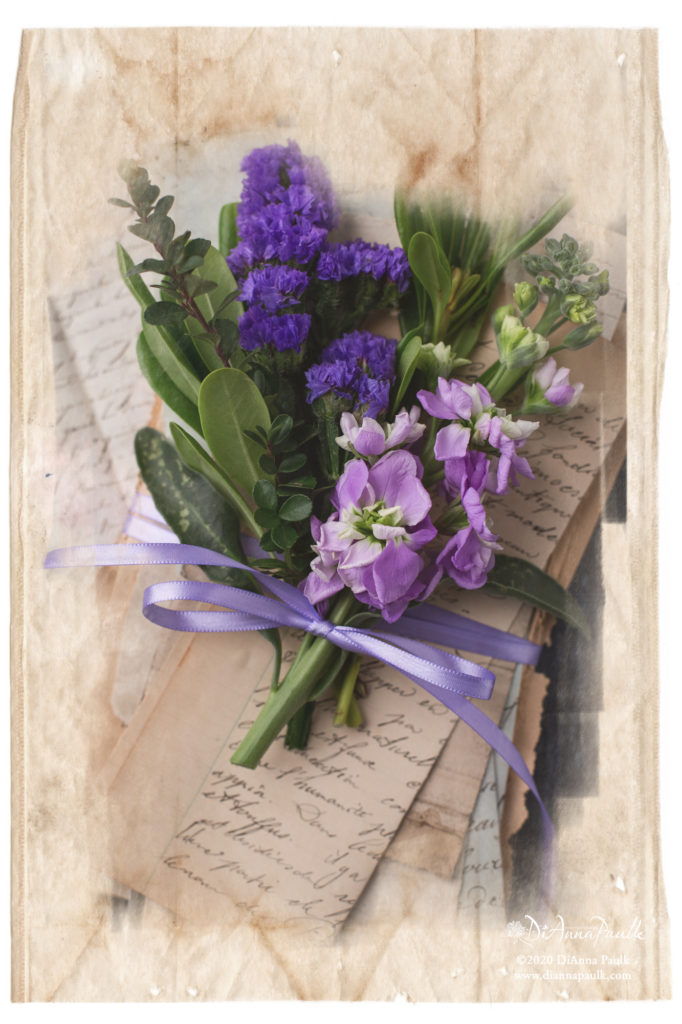
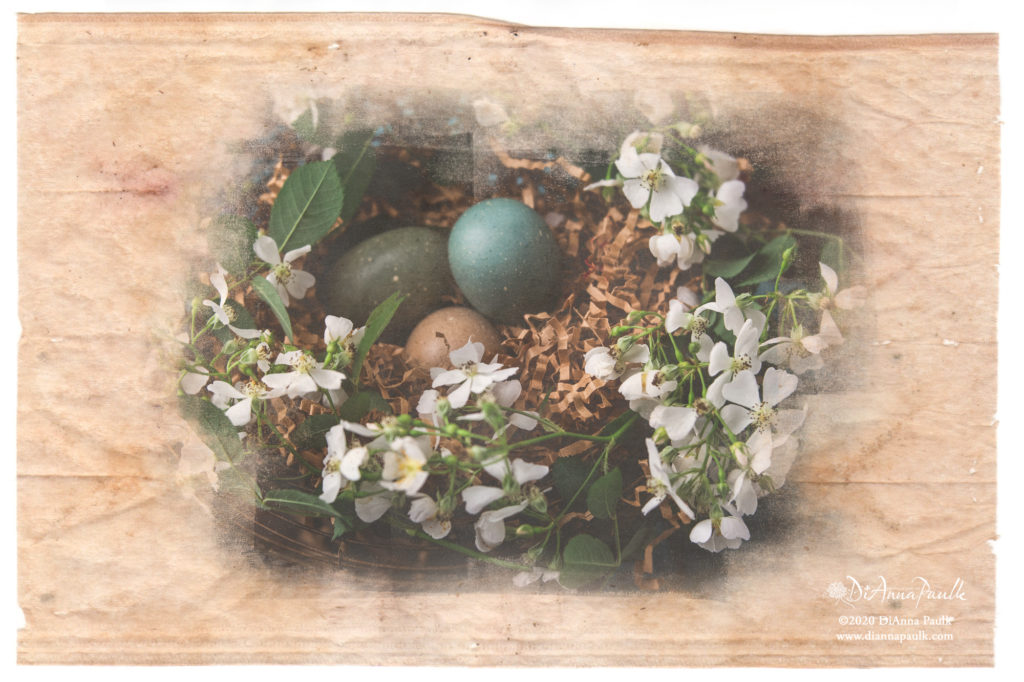
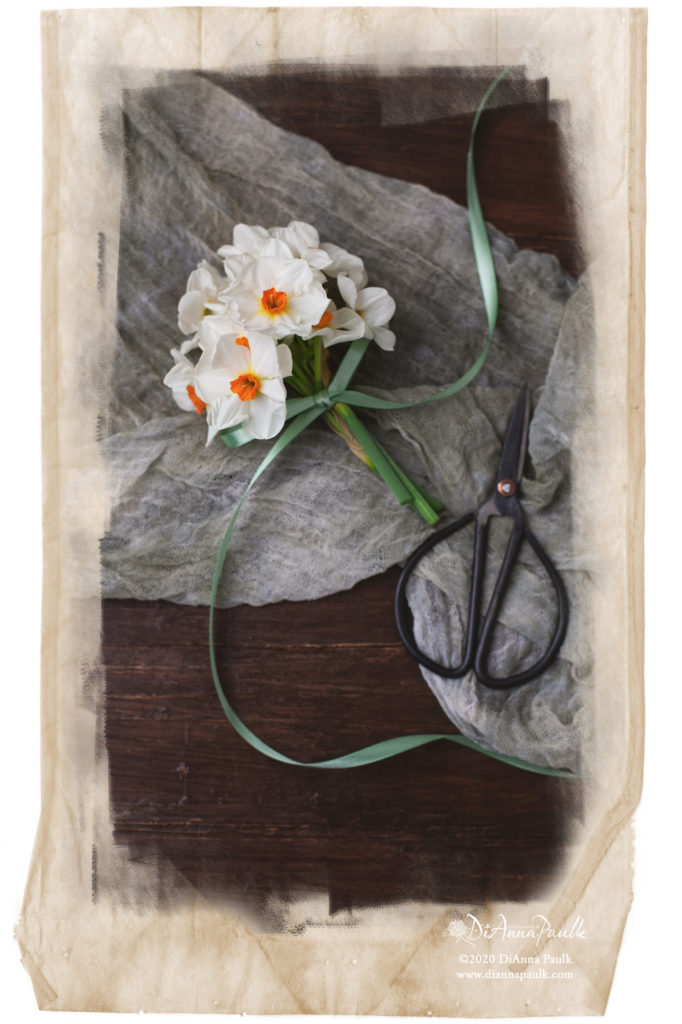
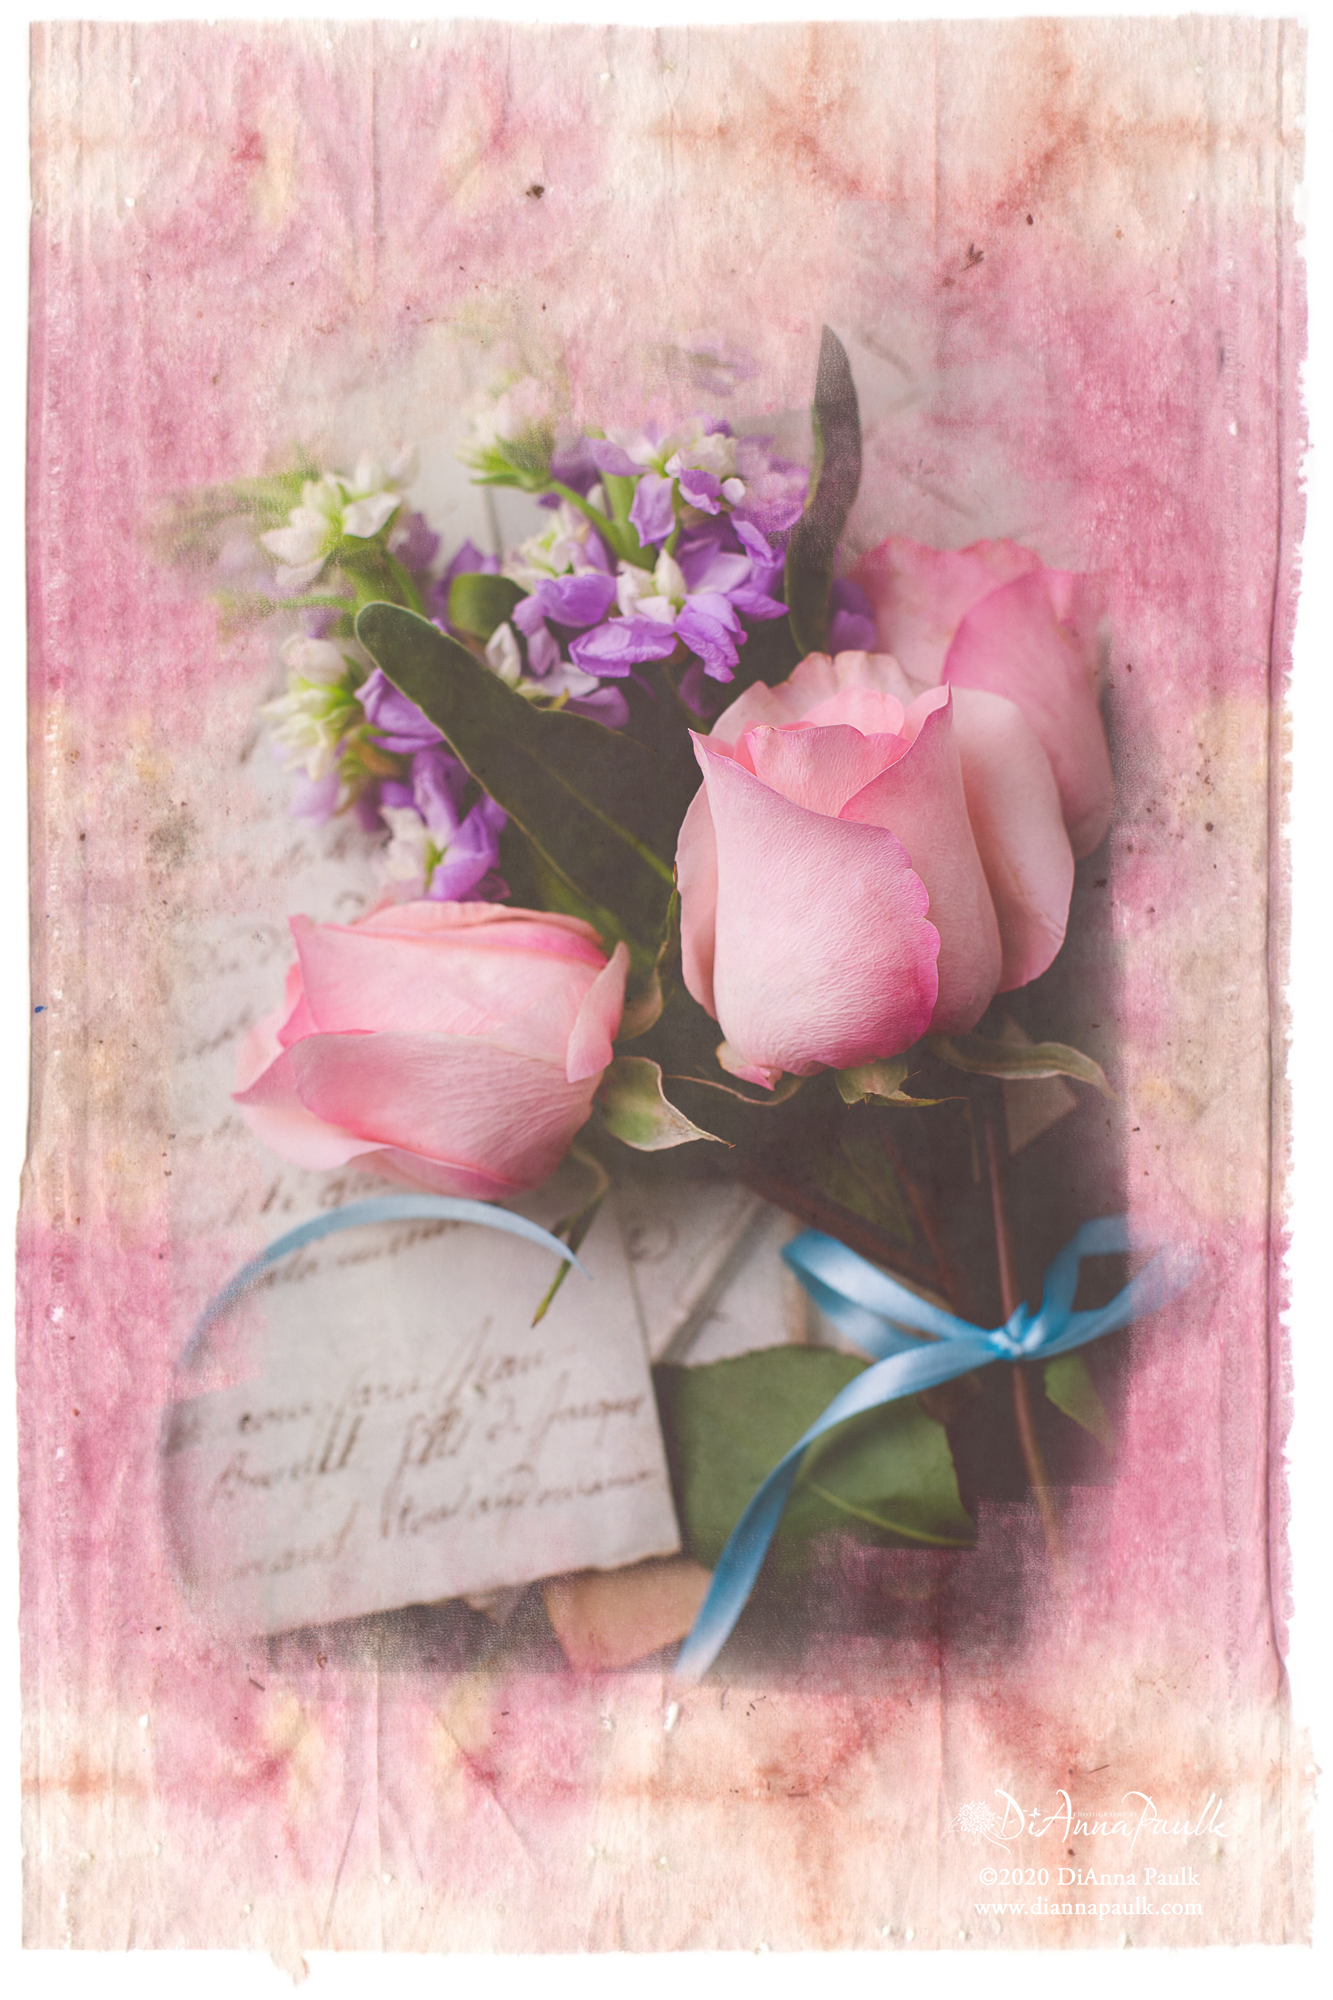
I had so much fun making and testing this new texture set for photographers to use in Photoshop. It looks like you’ve printed your image on a tea bag. I love the texture and artsy feel it lends to photographs.
These are a little different so I wanted to share how to use them here.
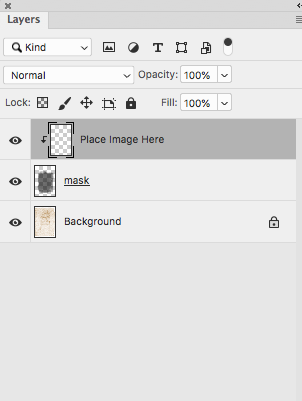
Each texture is made of 3 layers and saved as a PSD file. When you open up one of the textures this is what you’ll see in the layers palette:
With the top layer highlighted drag and drop your image onto the open file. Then the layers palette looks like this:
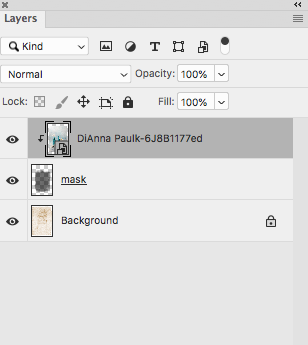
Of course, the file name for your image will appear in place of mine in the illustration.
You can use the handles to resize and move your image so that it fits as you like within the mask. You may also click on the mask layer, CTRL + T to resize it as needed if you want more or less of the image showing.
When you have it like you want it just flatten and save, but remember to SAVE AS with a NEW FILENAME so you won’t overwrite your original file.
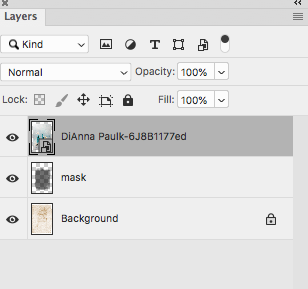
If you accidentally drag and drop your image while on the wrong layer your photo will not attach to the mask and your layers palette will look like this:
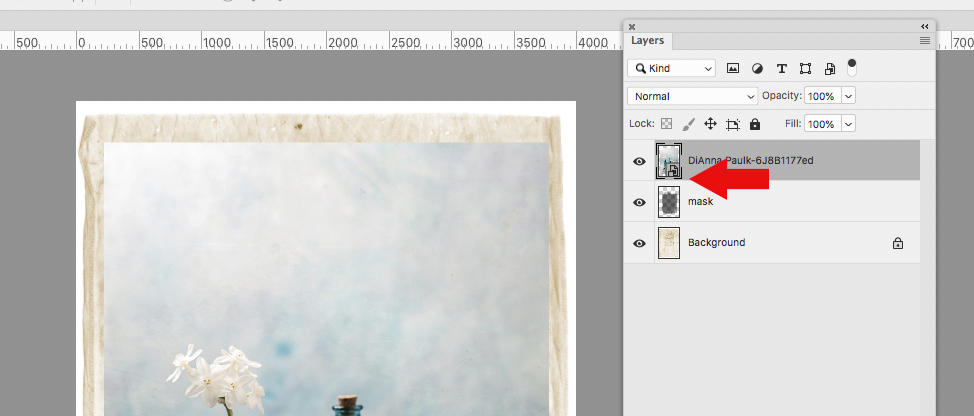
If that happens, move your cursor to the the line between the image and the mask layer and a little pointy finger hand will appear. Hold down the option key and it will turn into an arrow with a square. Click and the image is now attached to the mask and everything works again.
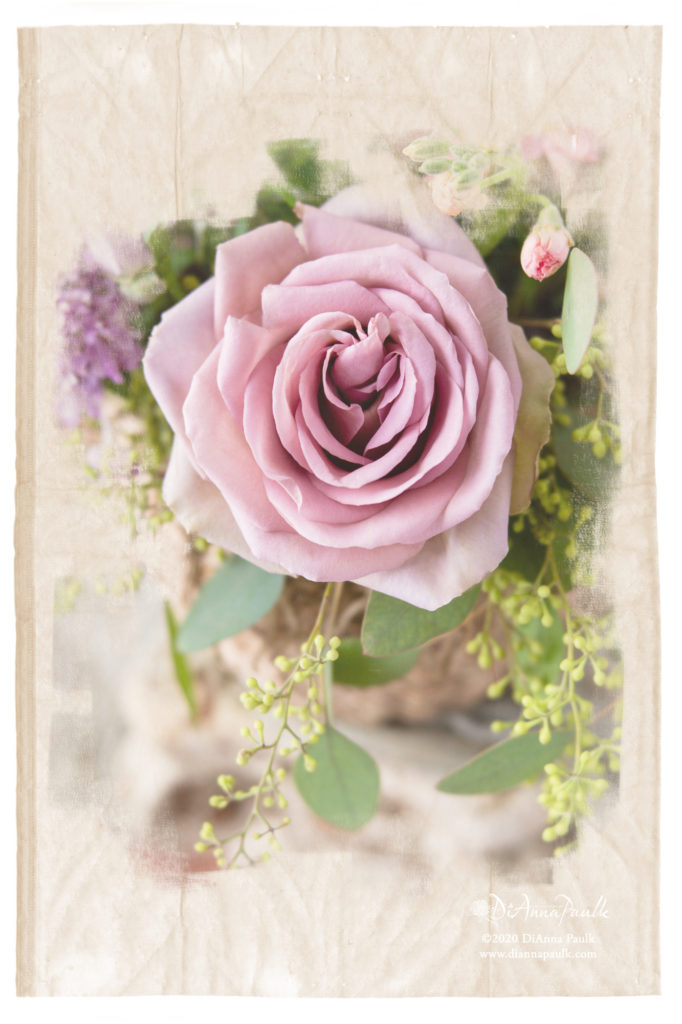
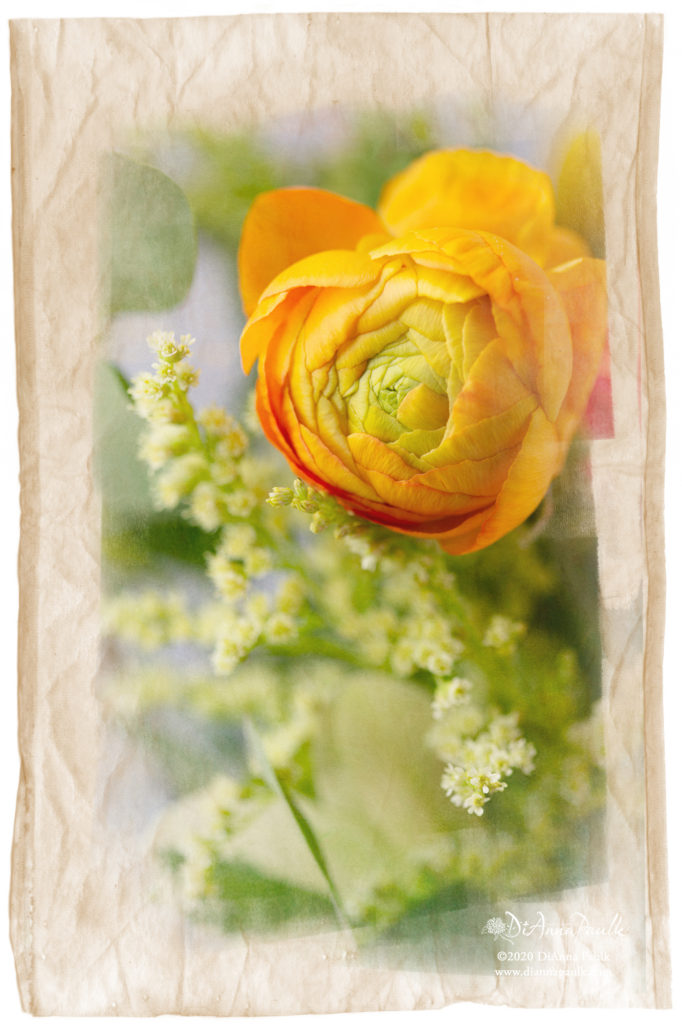
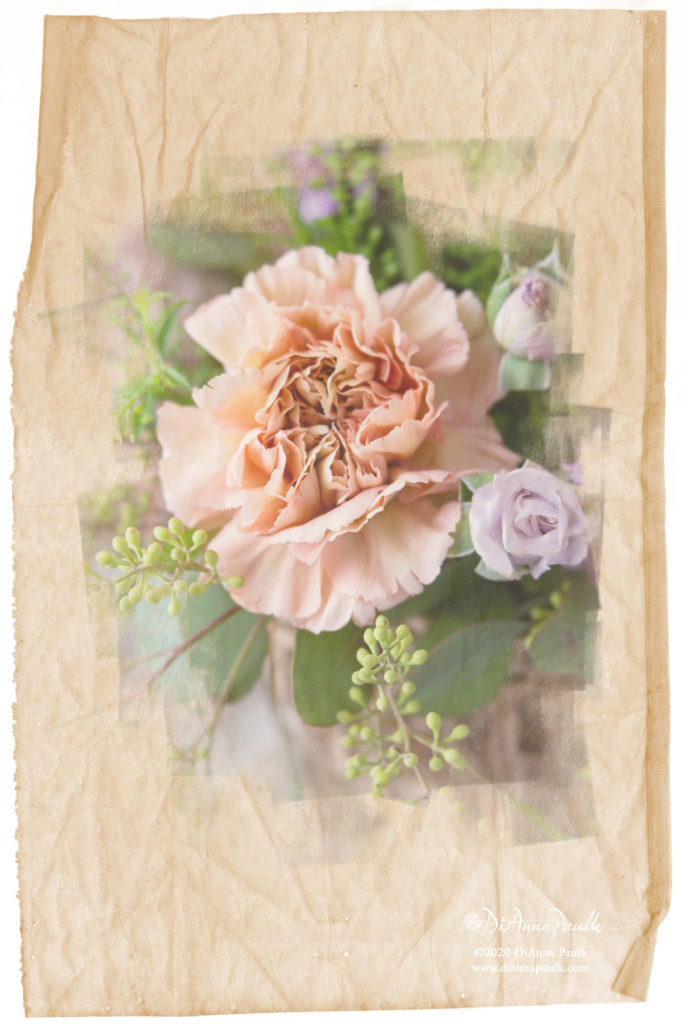
Here are a few more samples from the set:

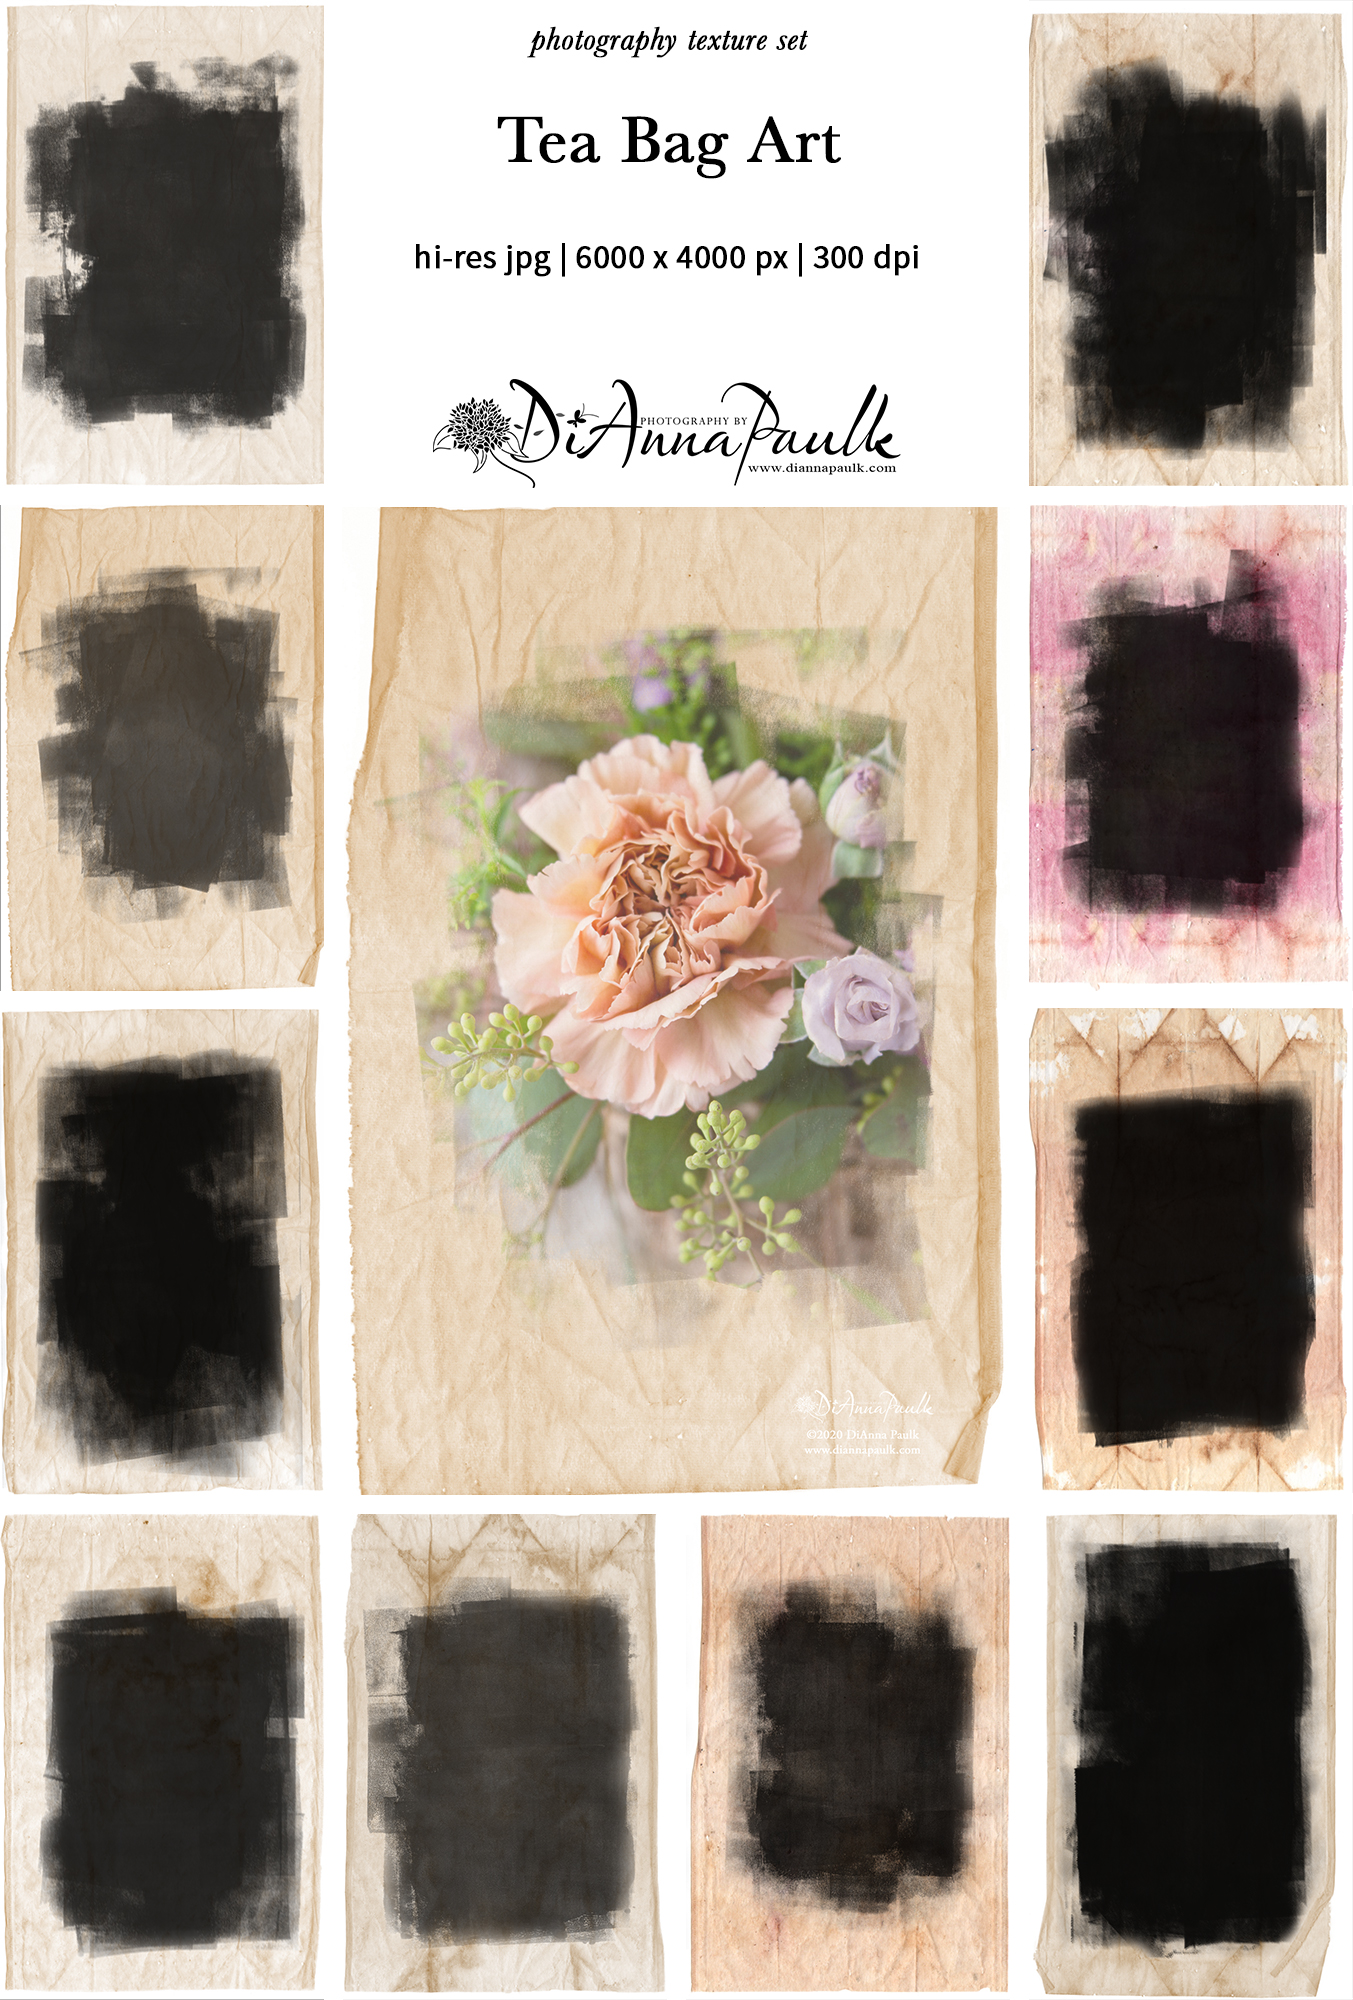
This set is available in the Etsy Shop: https://www.etsy.com/shop/DiAnnaPaulkPrints
I wish I could show you in person how beautifully these print on Red River Paper’s 60 lb paper canvas. I am in love!!