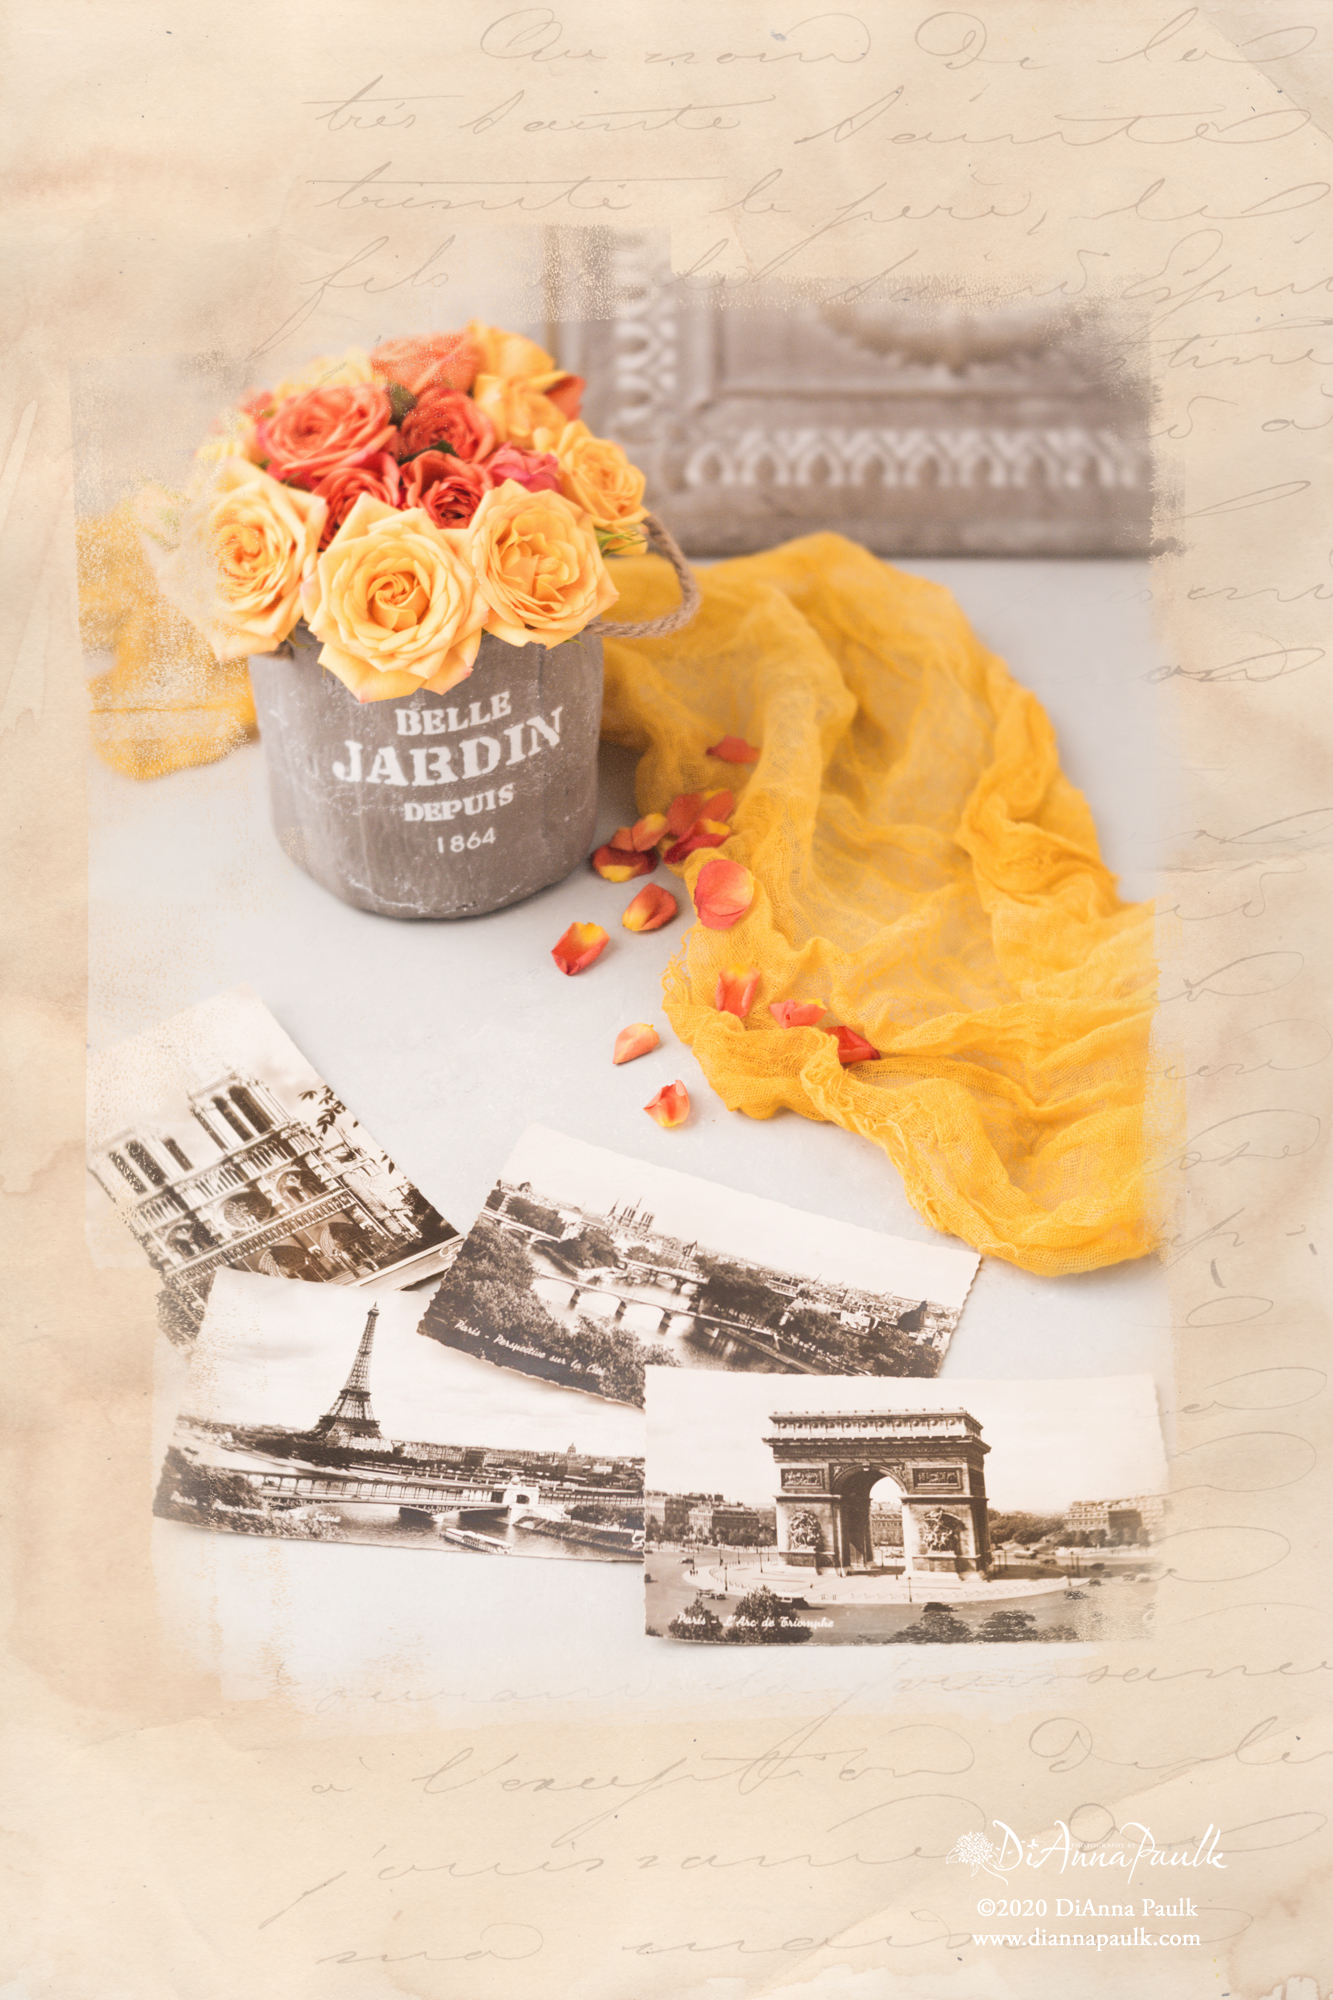
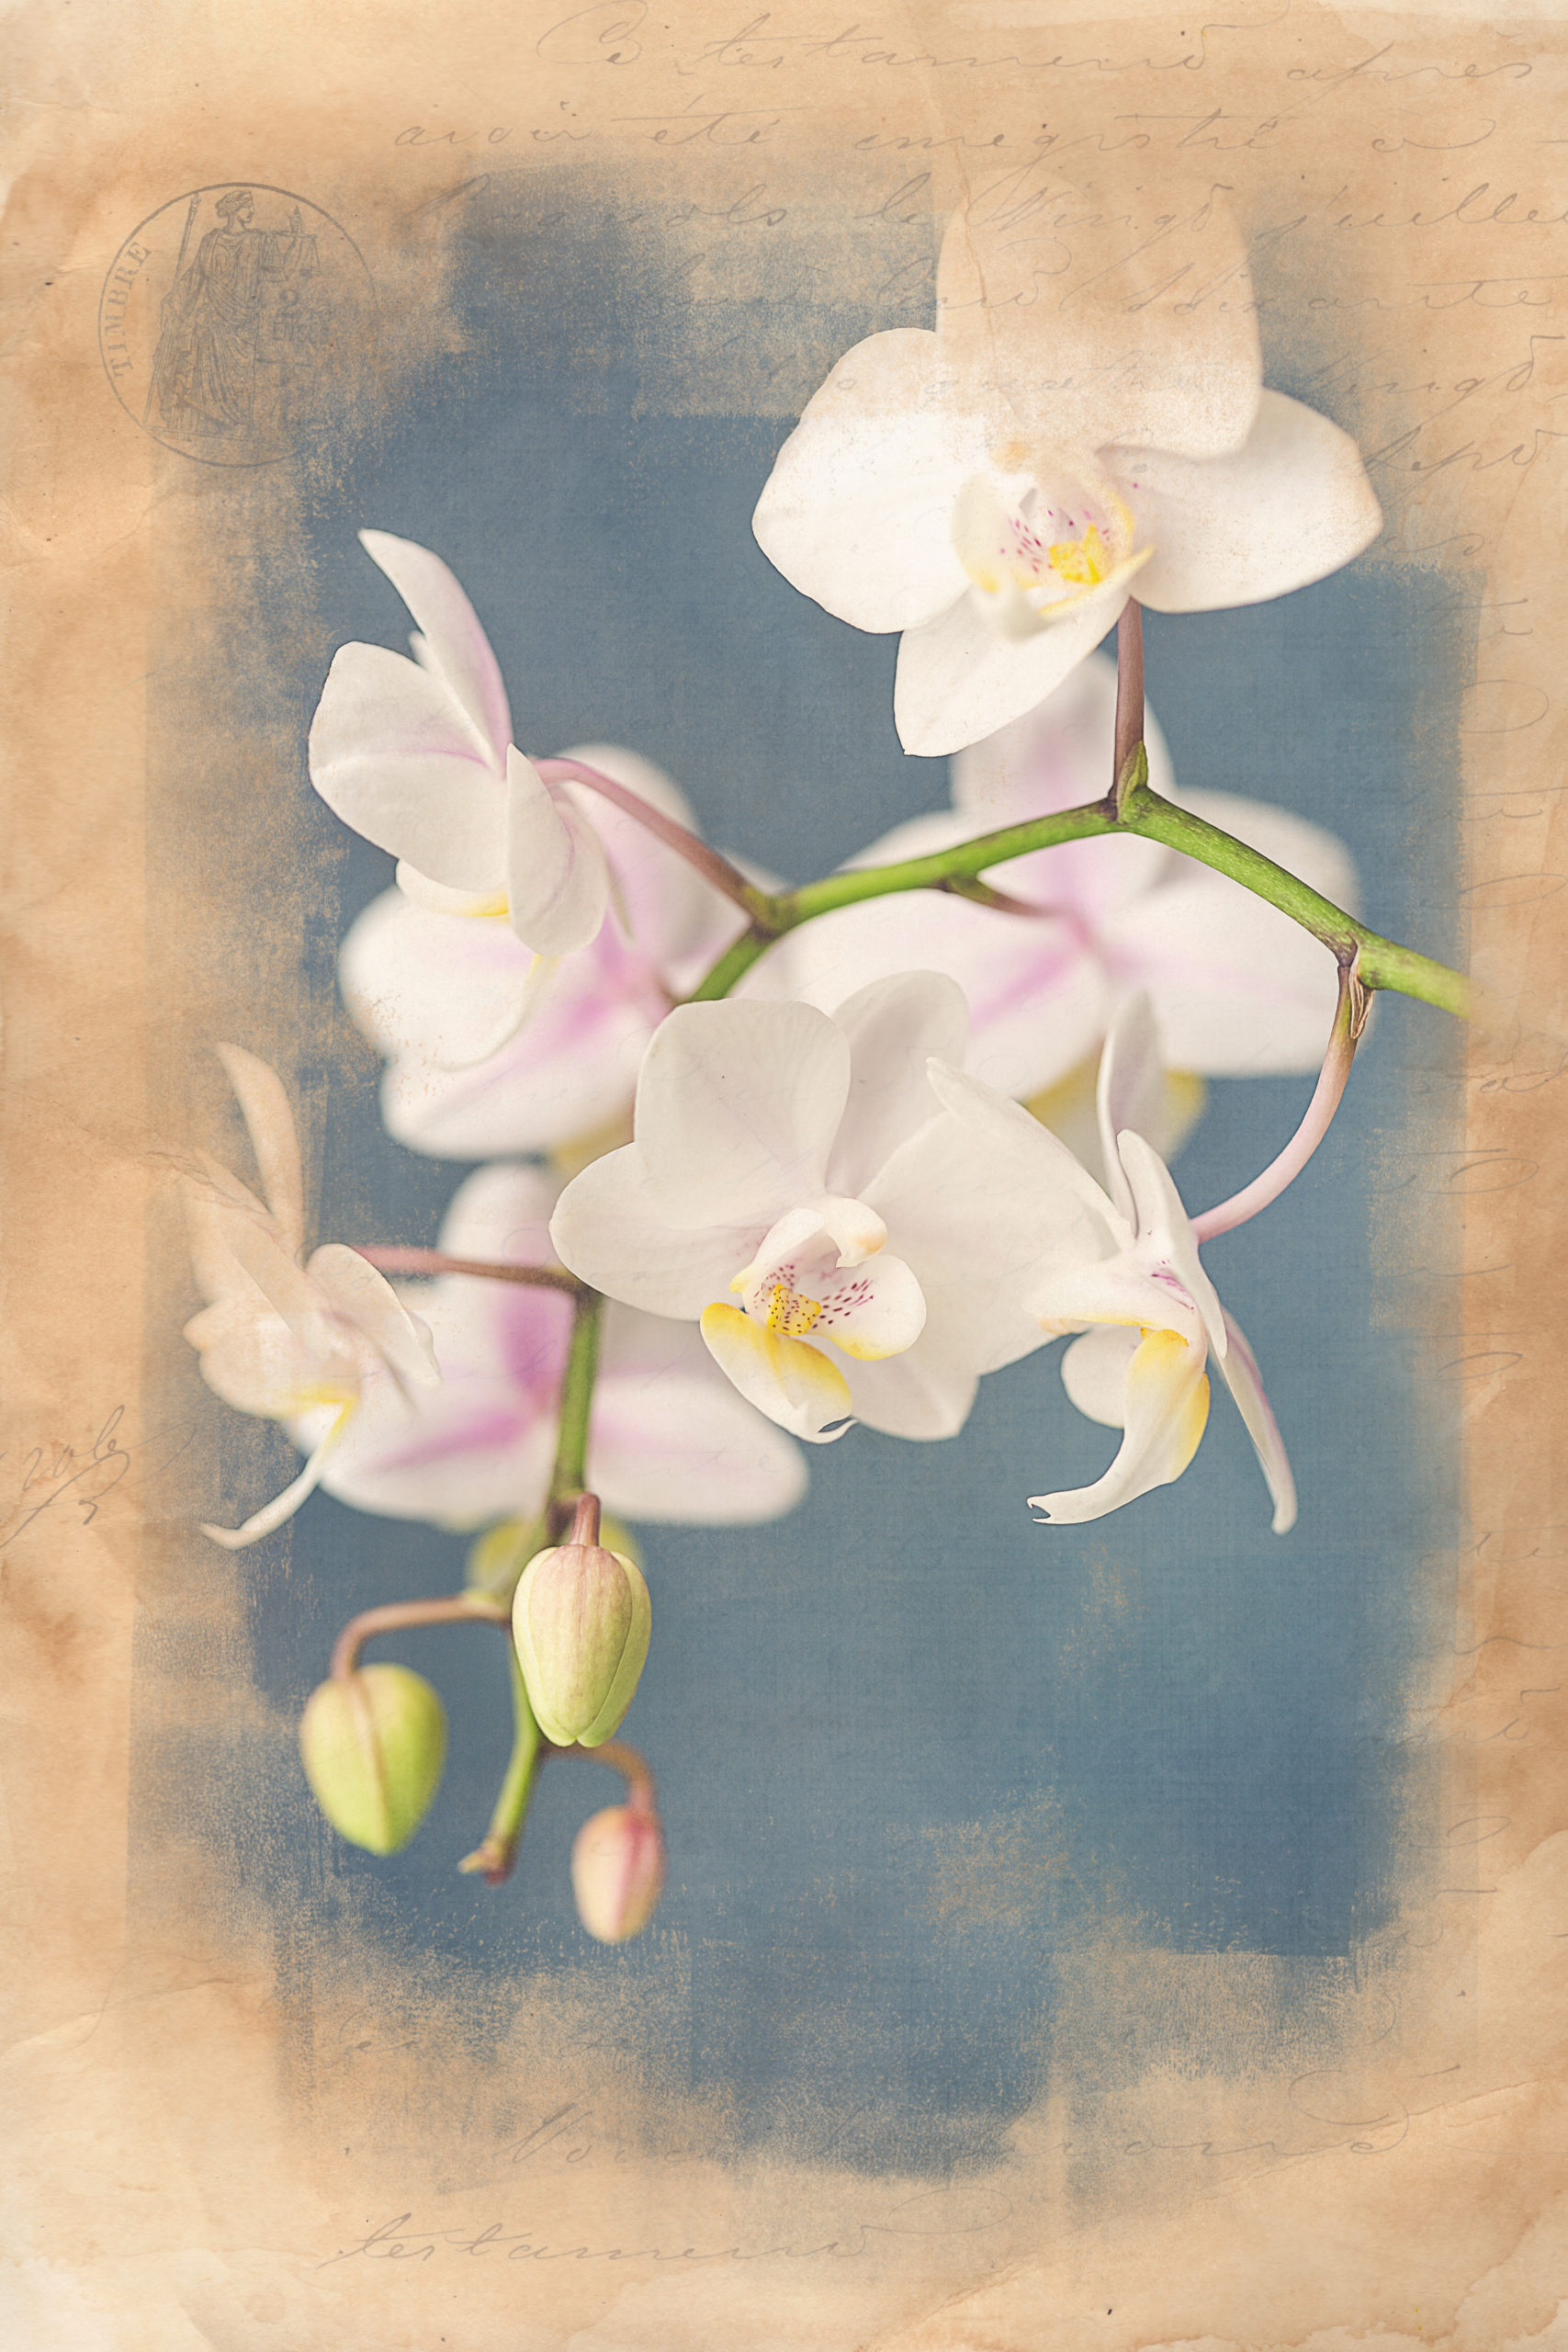
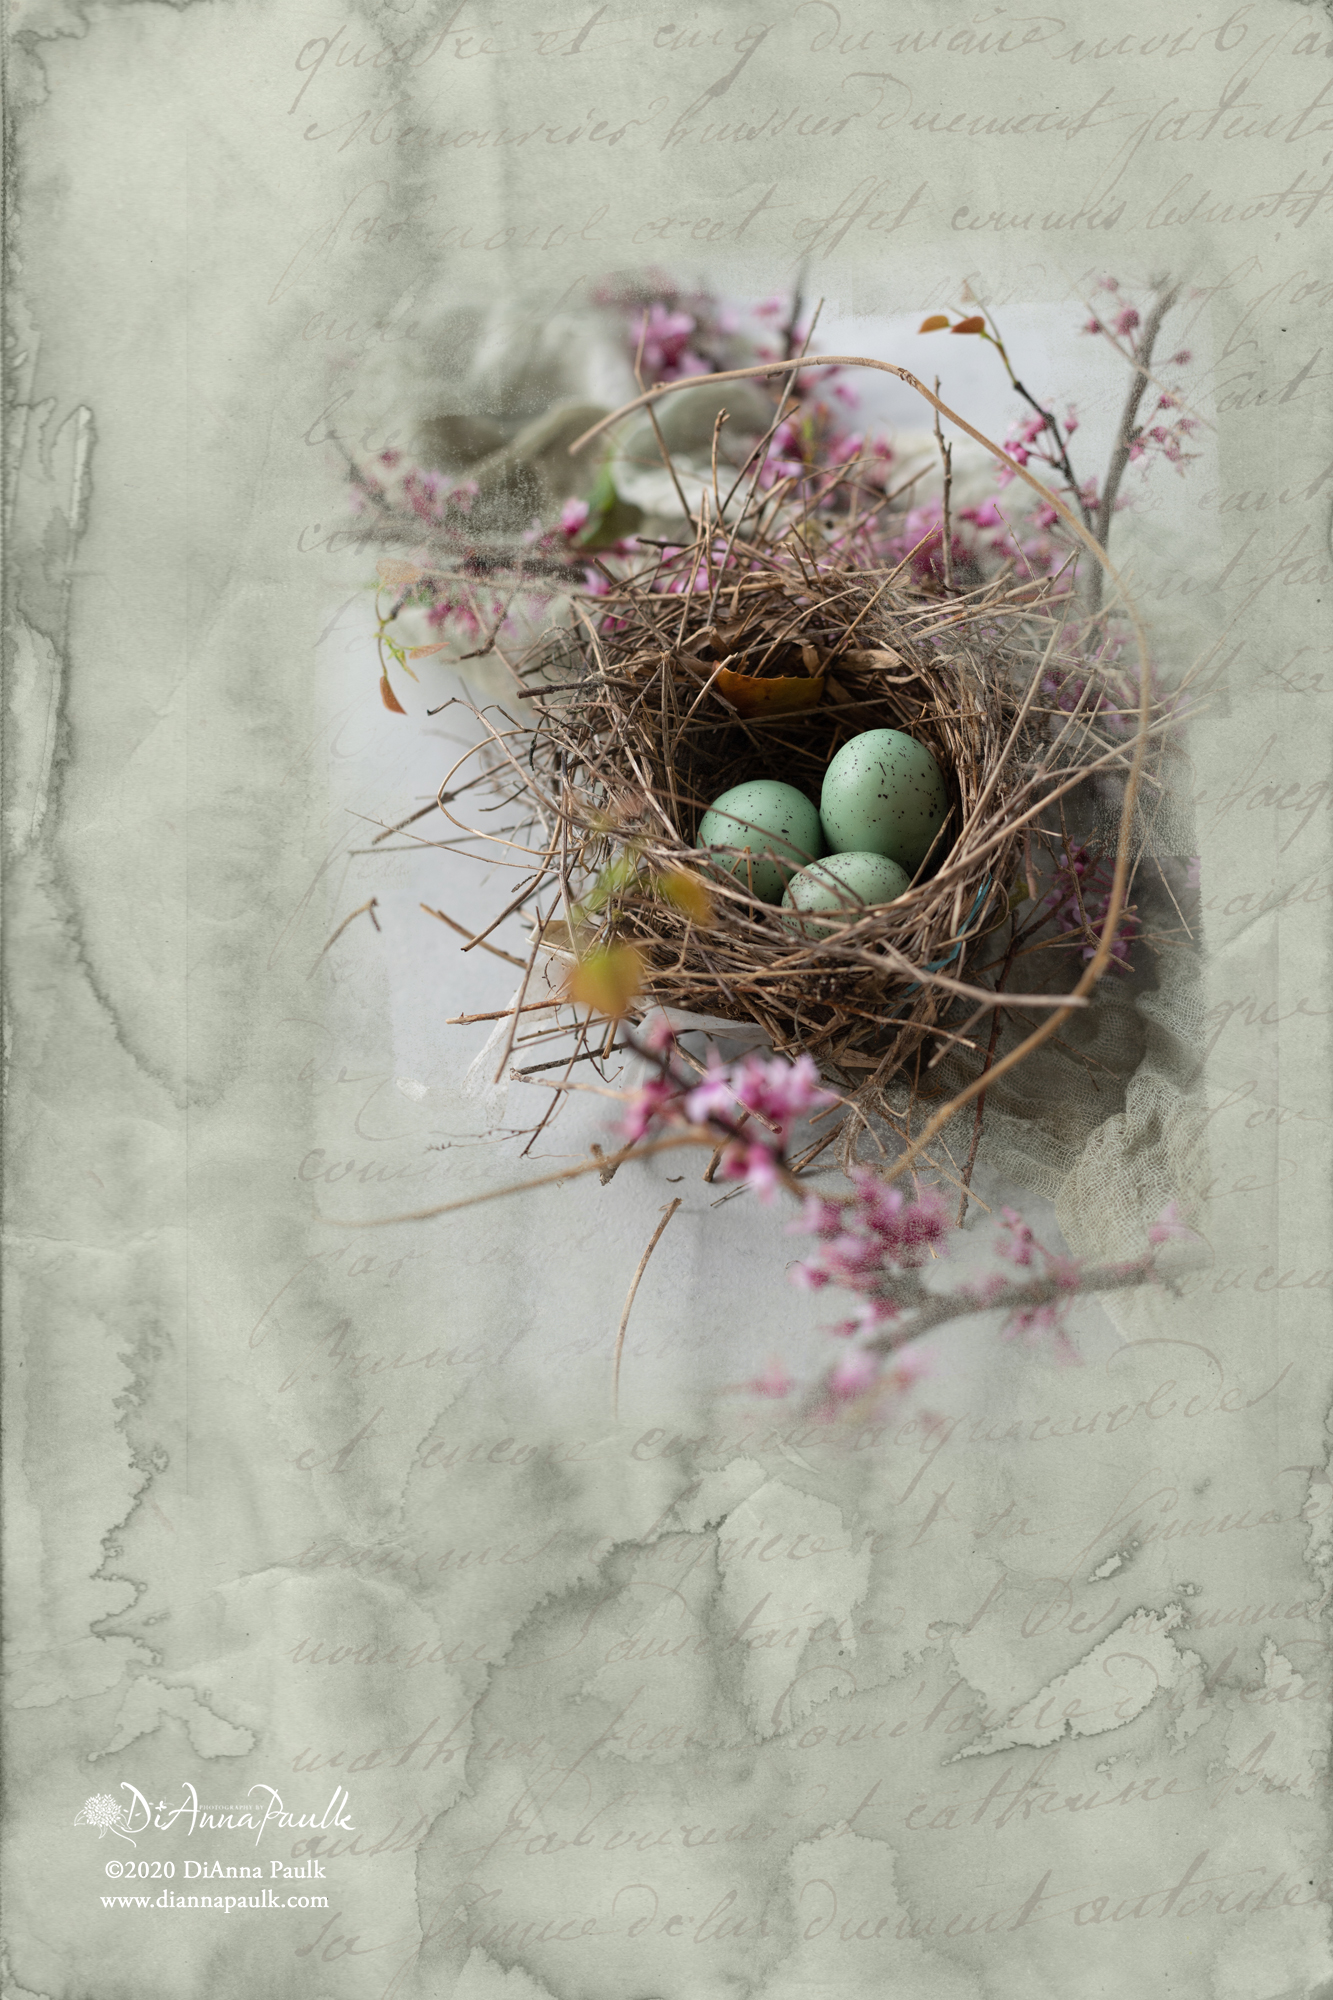
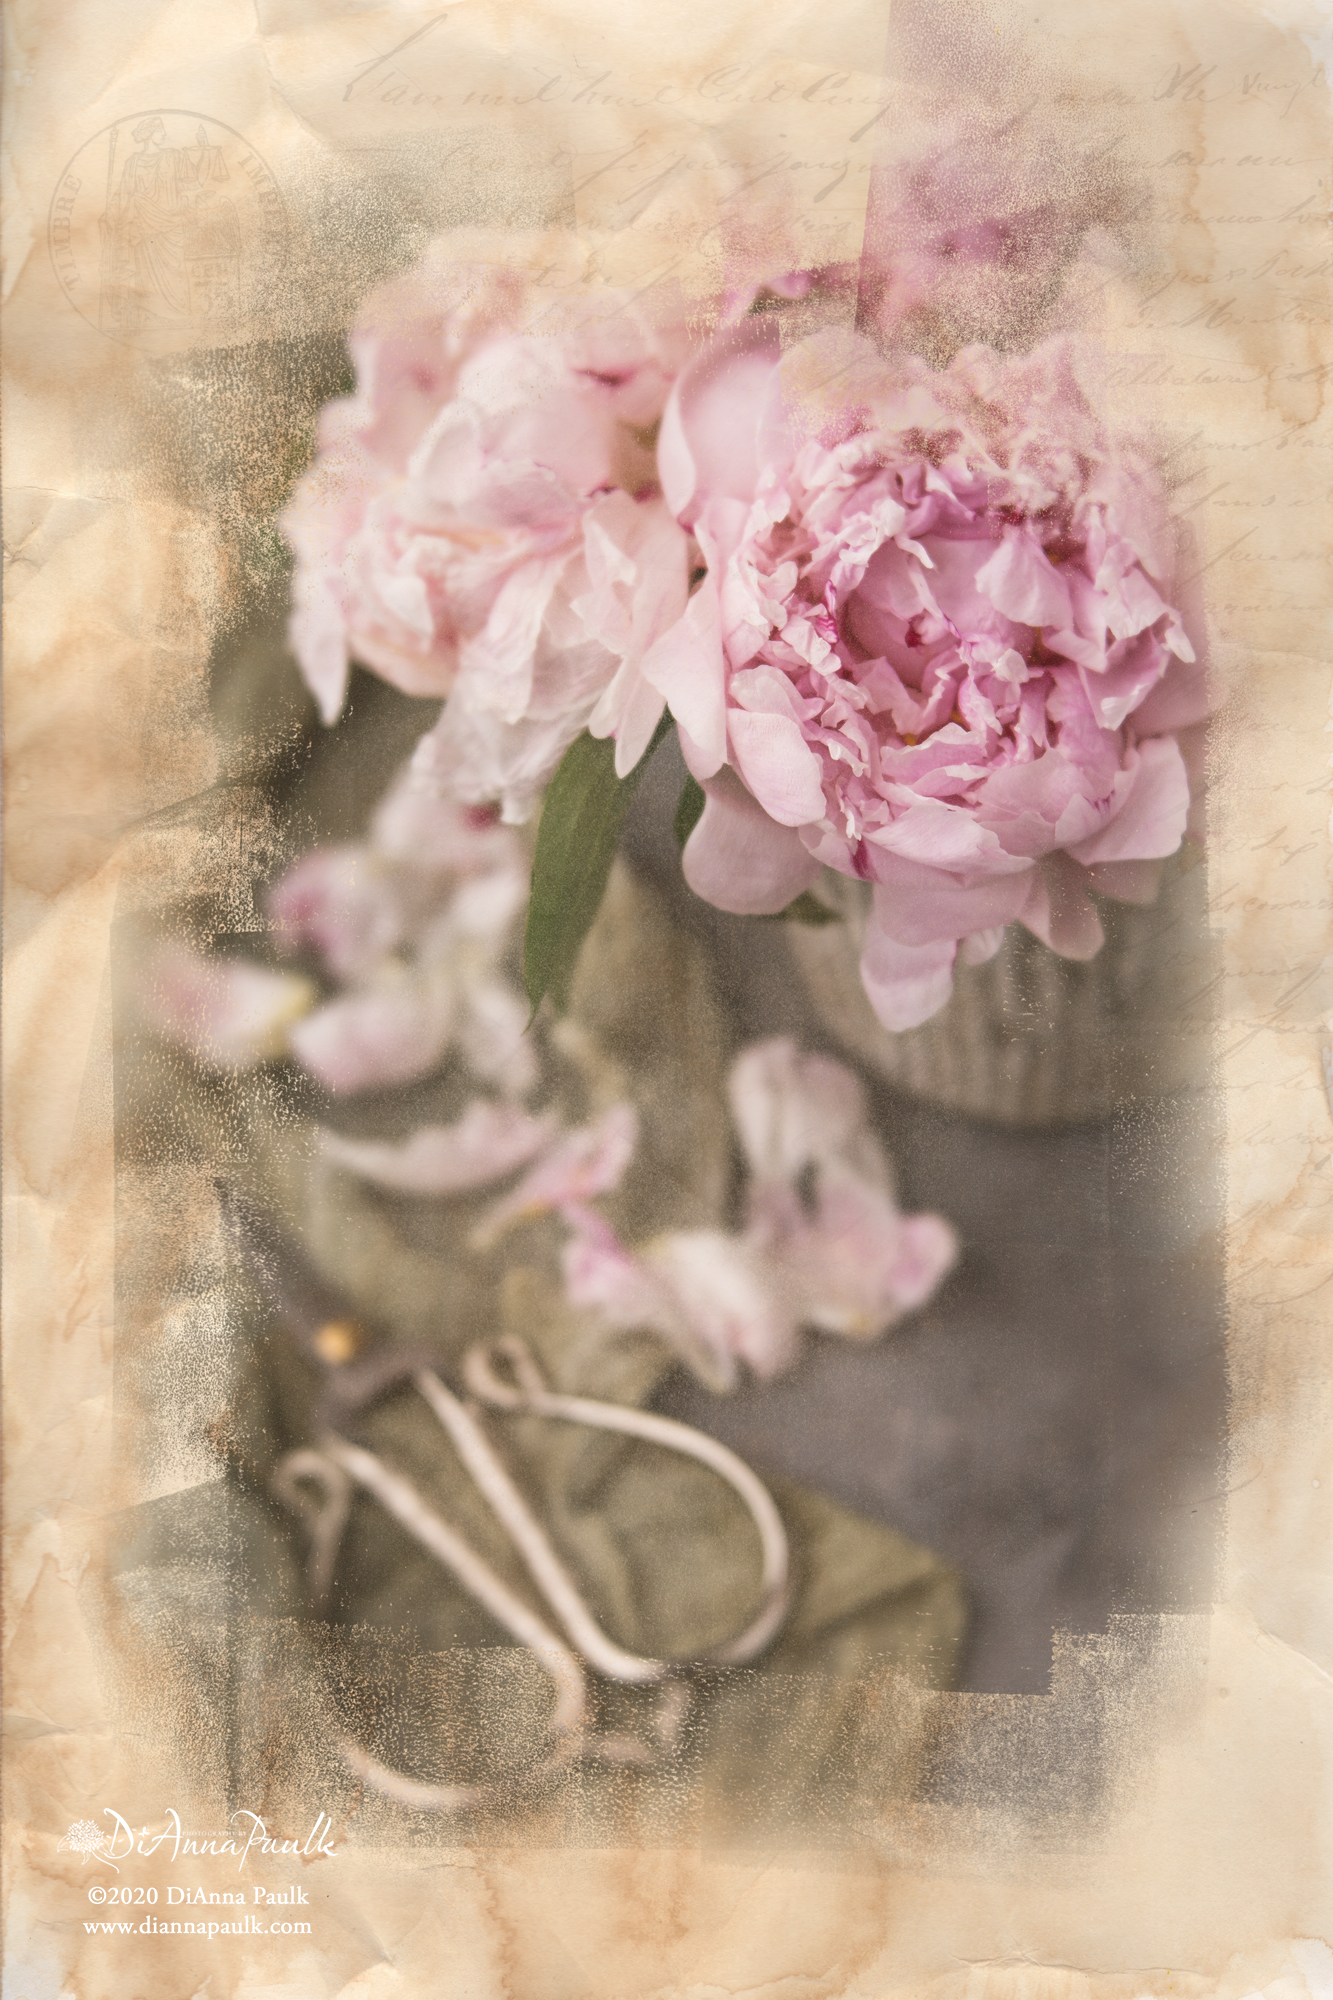
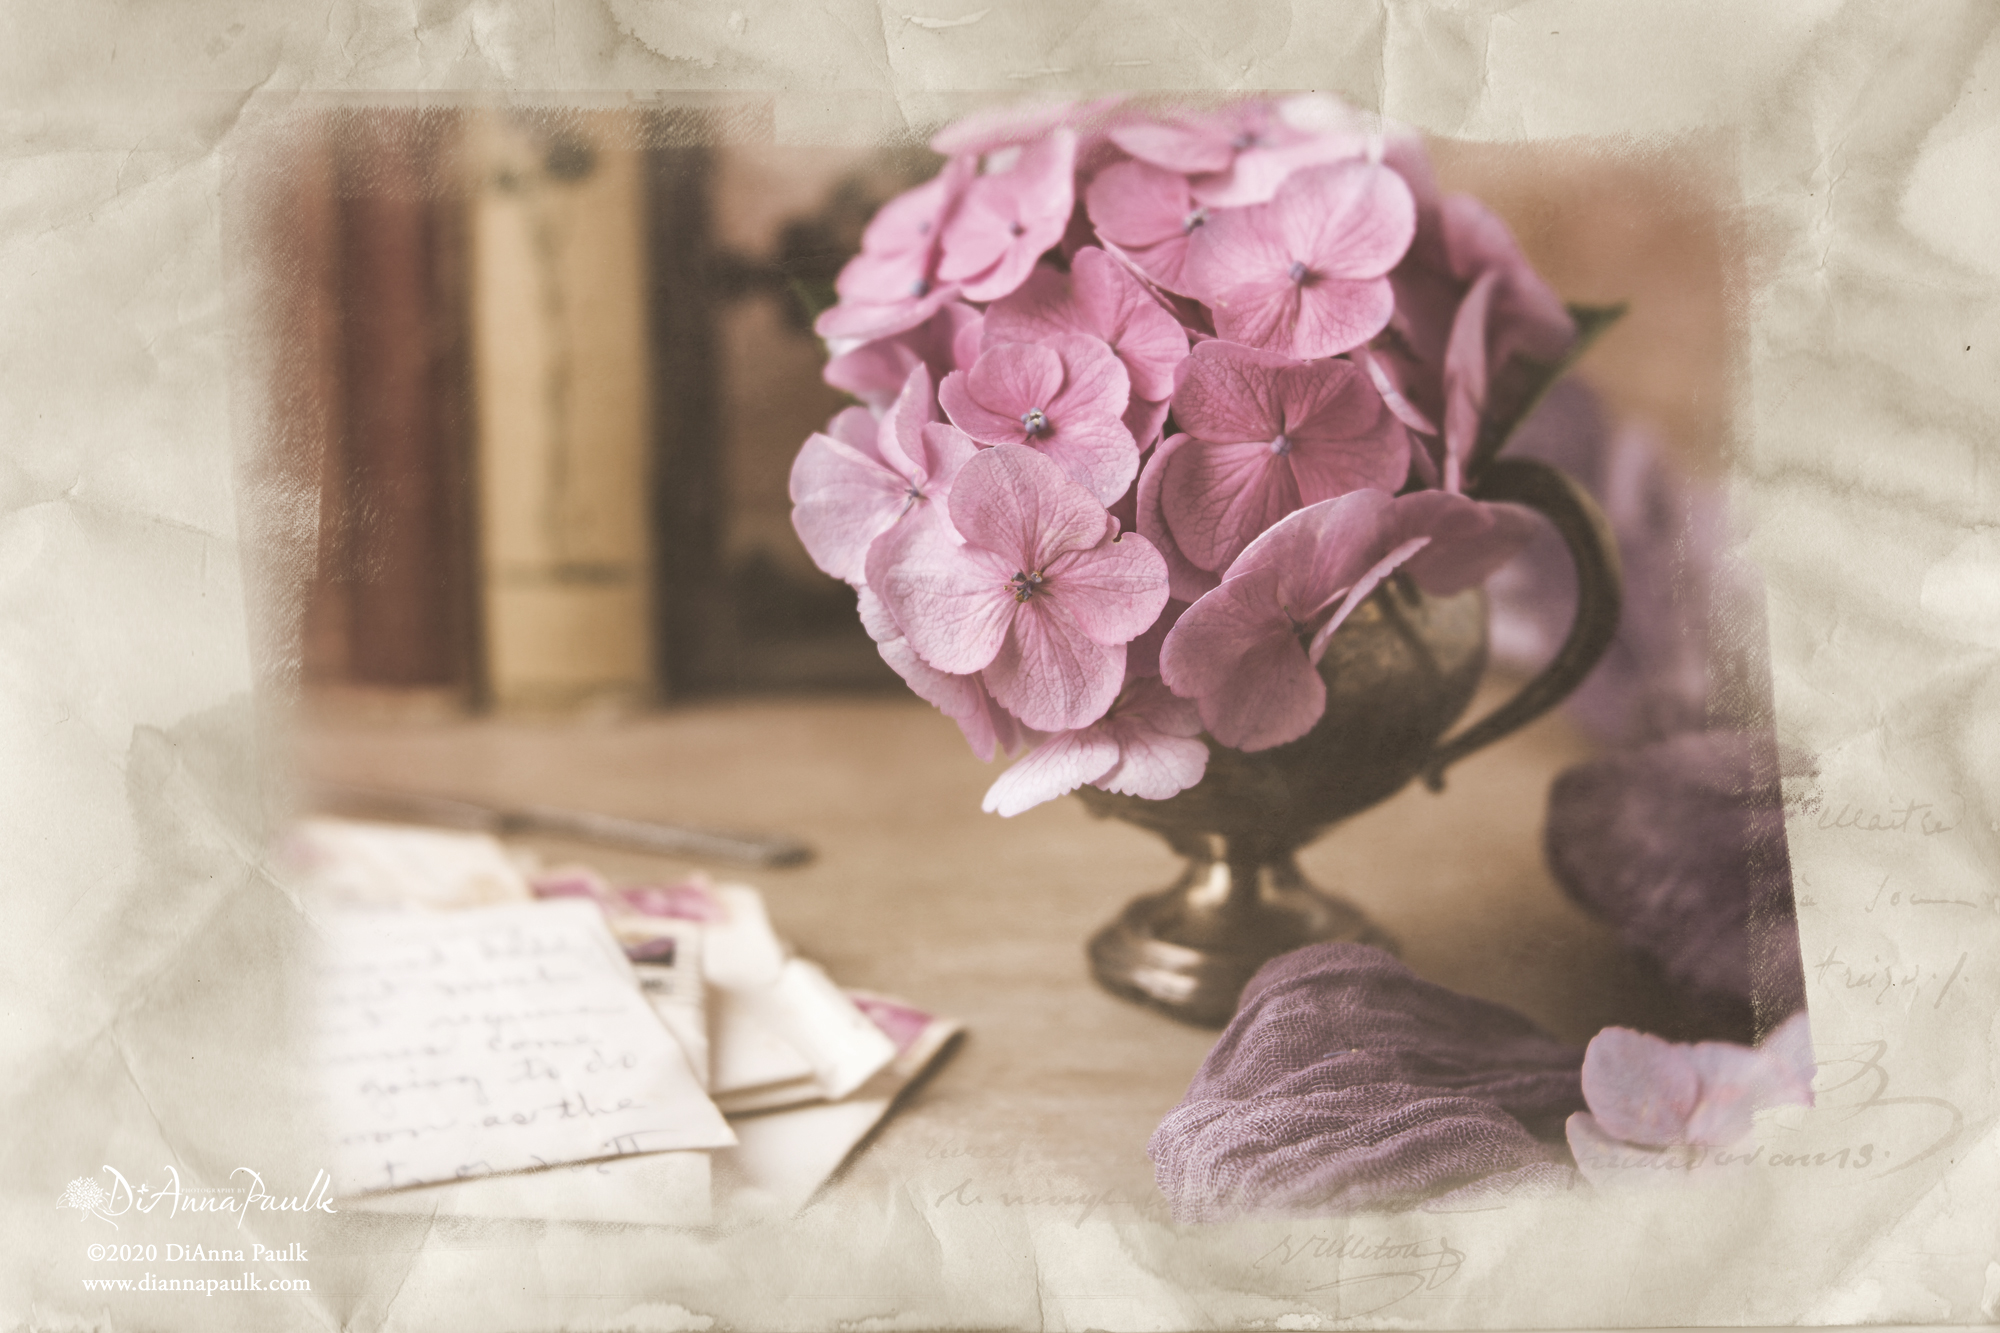
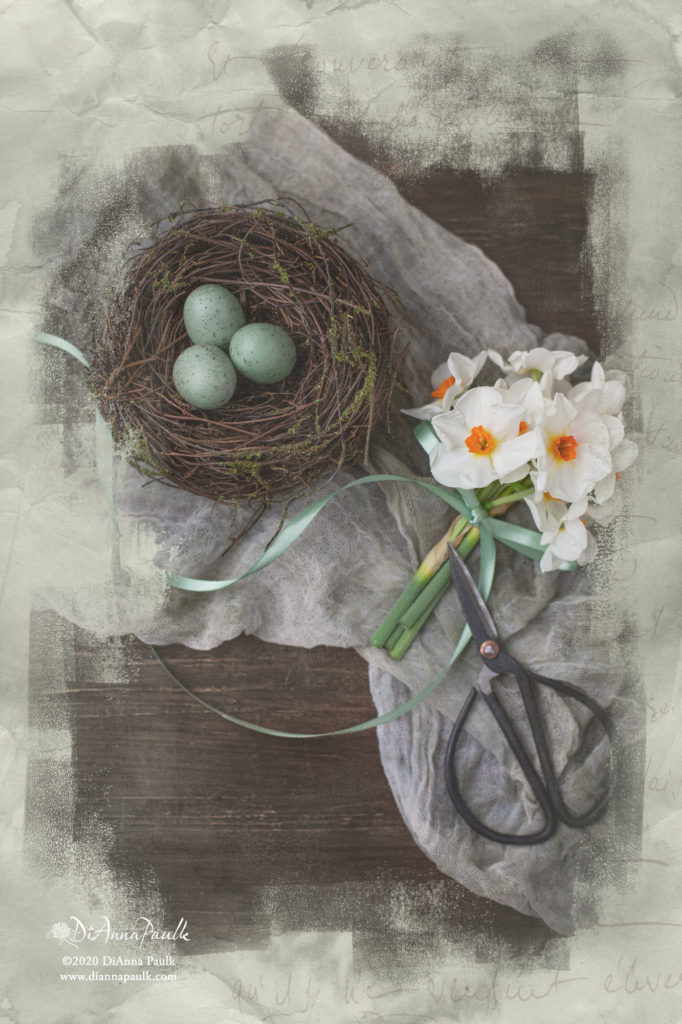
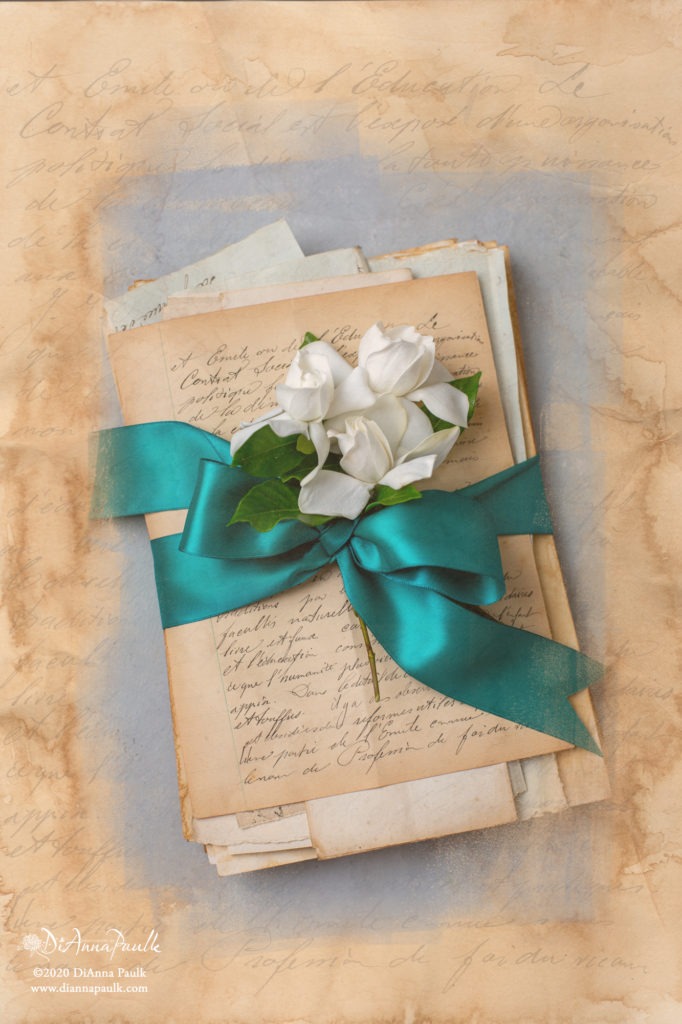
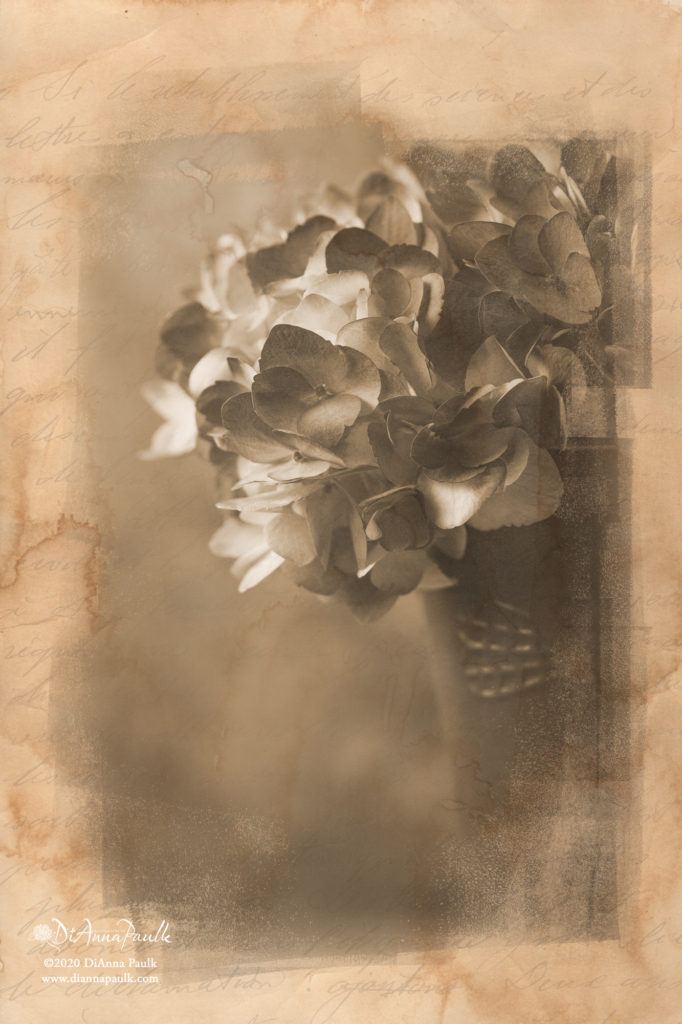
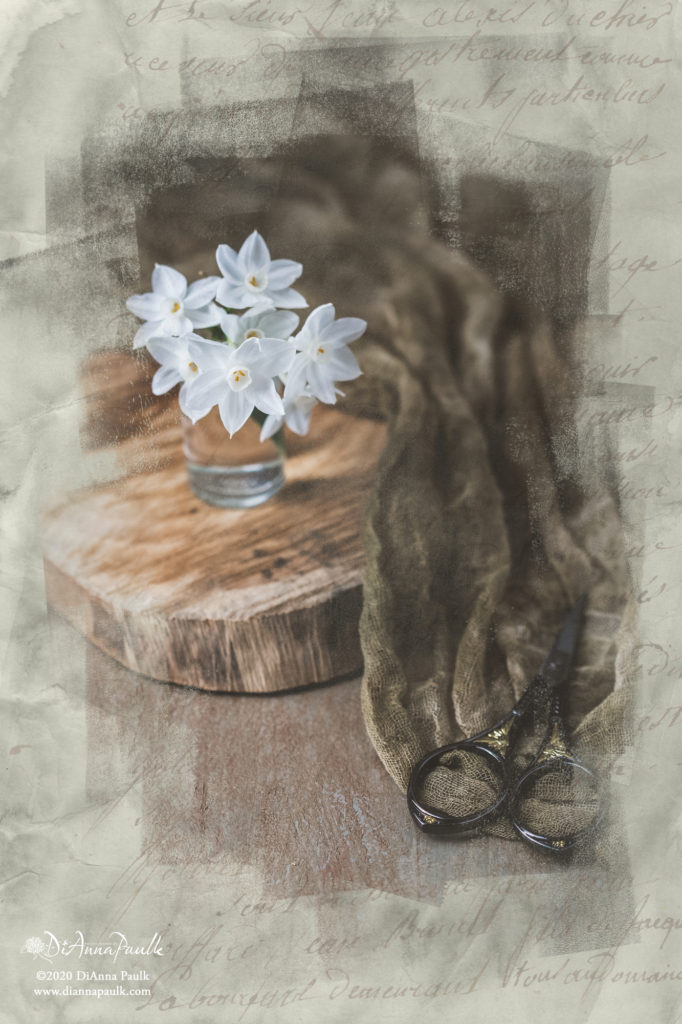
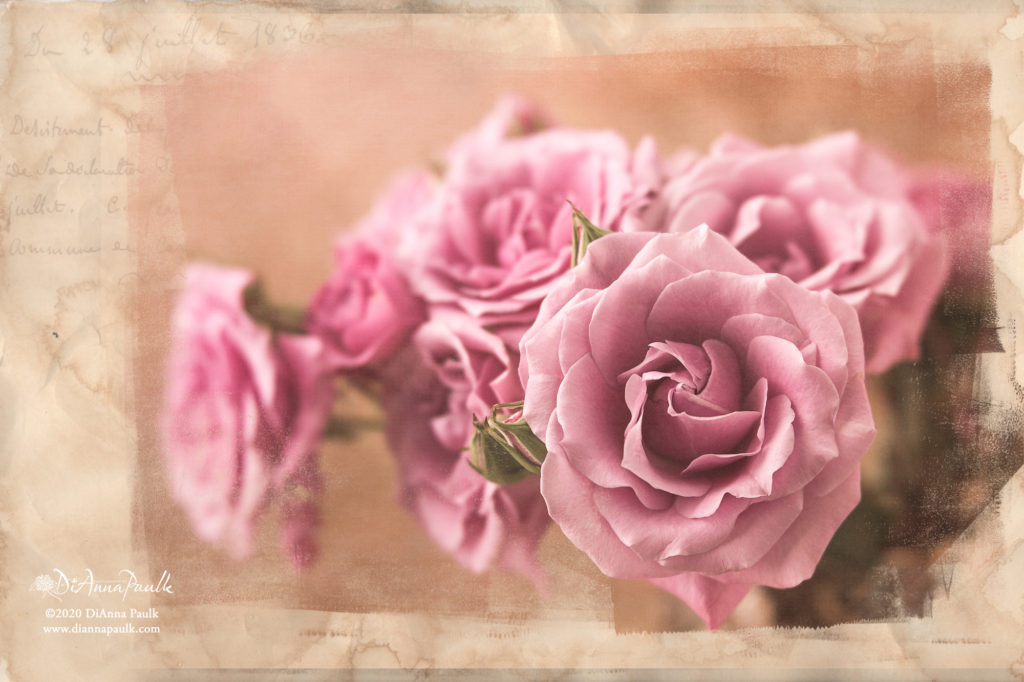
I had so much fun making and using the Tea Bag Art textures last week I just continued on with some old French documents I had and pulled together this set.
This set is also a layered PSD file. The background features the old French documents faded so they don’t detract from the image you’re using. The second layer is a mask layer. When you drag and drop and resize your image on to the third empty layer only the masked part will show through. The mask can be resized so it shows as much or as little of your image as you like. For illustrated instructions please refer to the Tea Bag Art post.
The textures are sized as 4000×6000 pixels which equates to a 13.3×20″ print. Since that’s not a standard size I thought I’d illustrate how to resize them if you wanted to print them (they look absolutely gorgeous on Red River Paper’s 60-lb canvas paper!).
First, Make a new document in Photoshop with your desired print size or ratio.
Next, Open your texture in Photoshop.
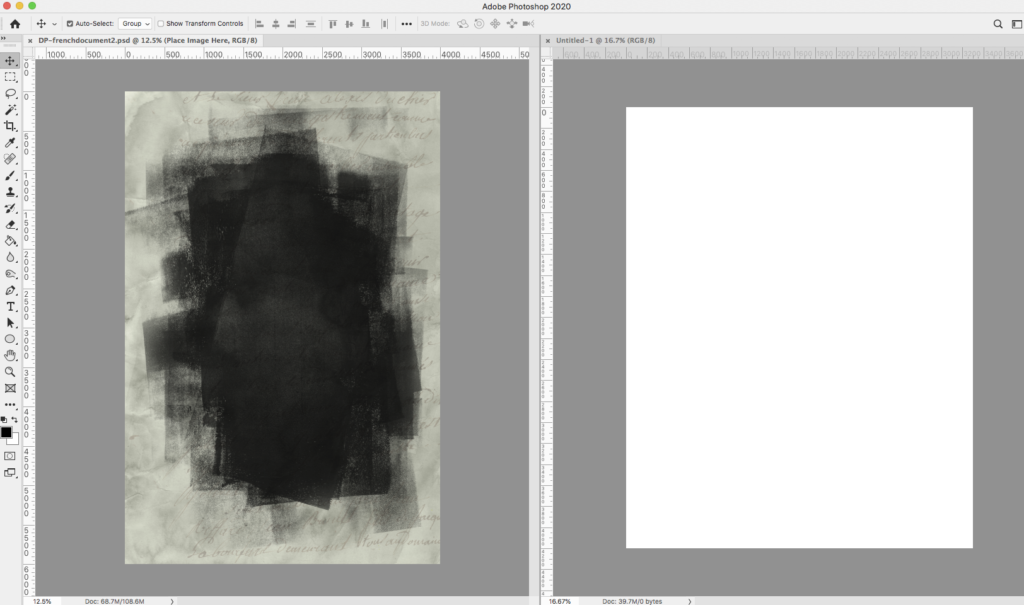
With the background texture highlighted, drag and drop it onto your new document. Resize as needed to get as much of the background texture on the new document as possible. I recommend maintaining the original ratio so the writing won’t become distorted.
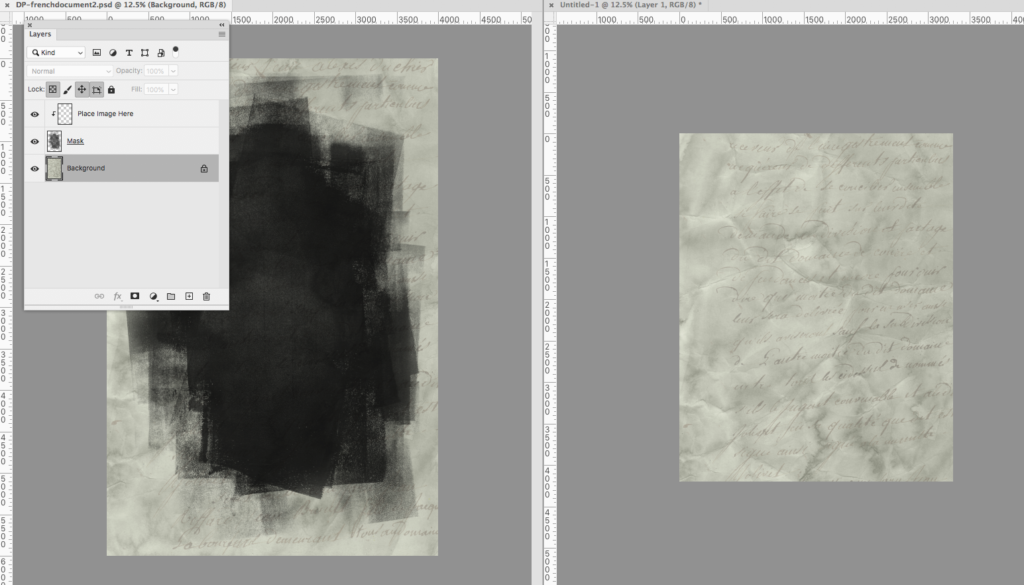
Highlight the mask layer on the texture, drag and drop it to your new document. It is fine to hold down the shift key and adjust the mask layer as desired. You will not need to maintain the ratio on it. You may now close the texture file.
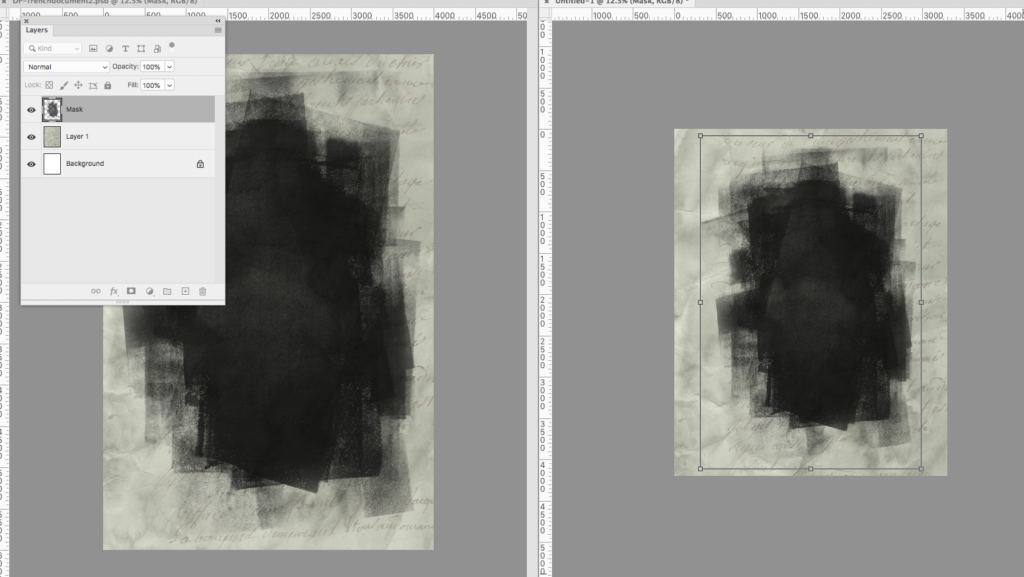
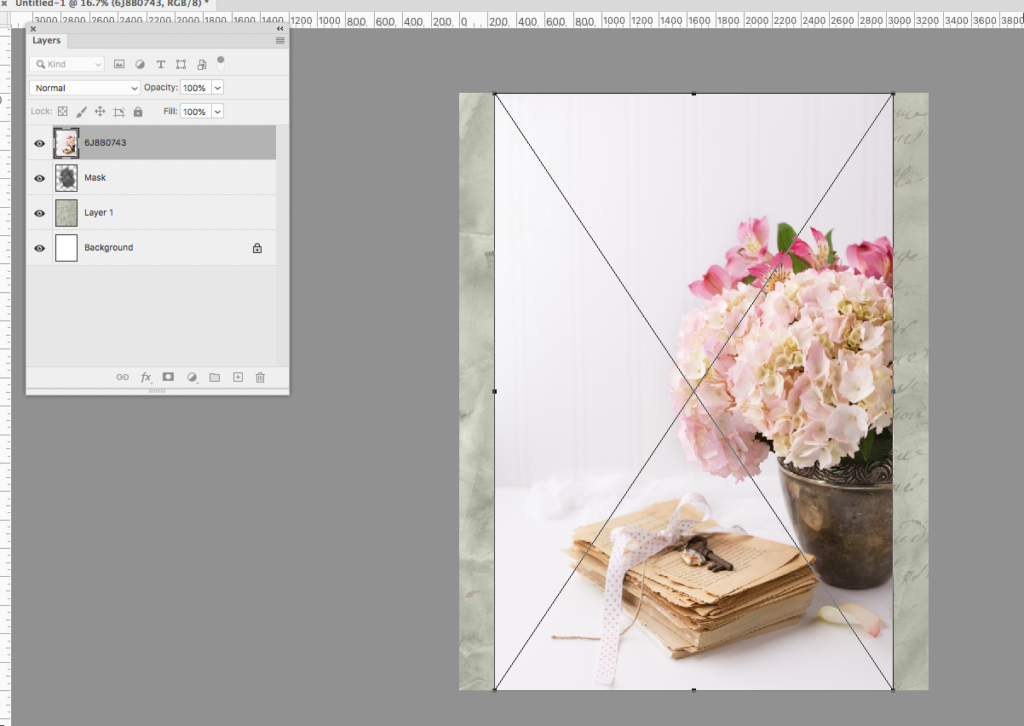
From Bridge, drag and drop your image onto the top of the mask layer. Resize as needed.
Clip the image to the mask layer by holding the cursor on the line between the two layers, hold down the Option key and click.
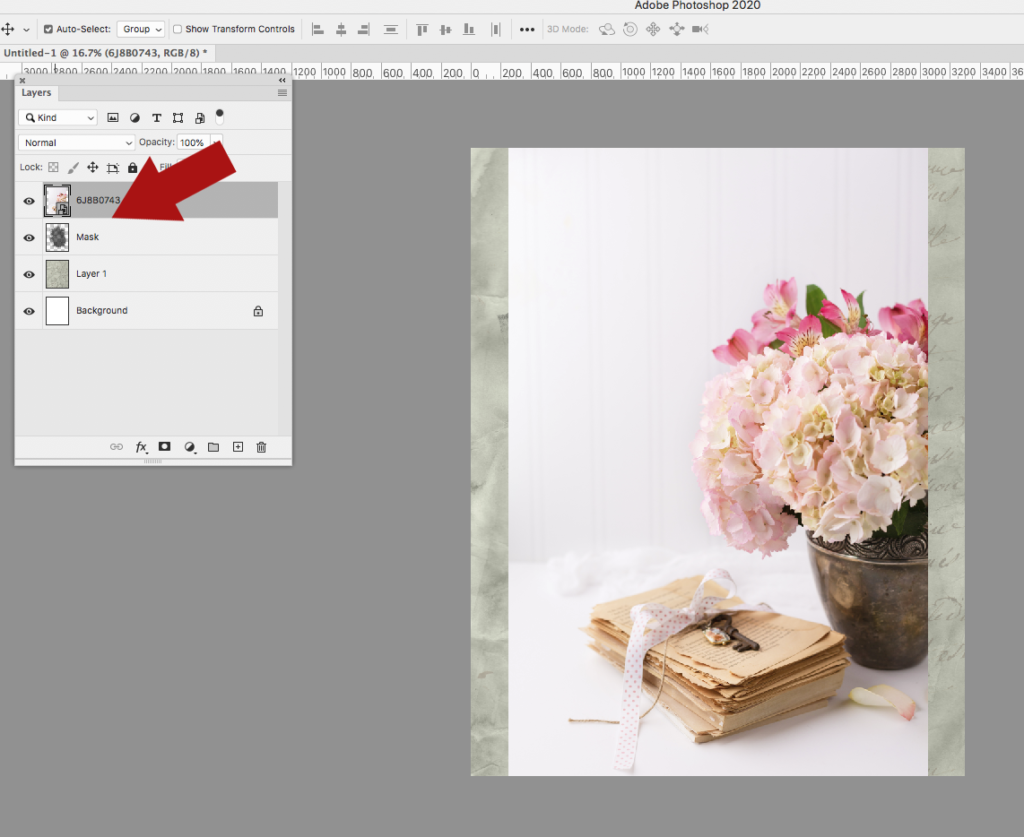
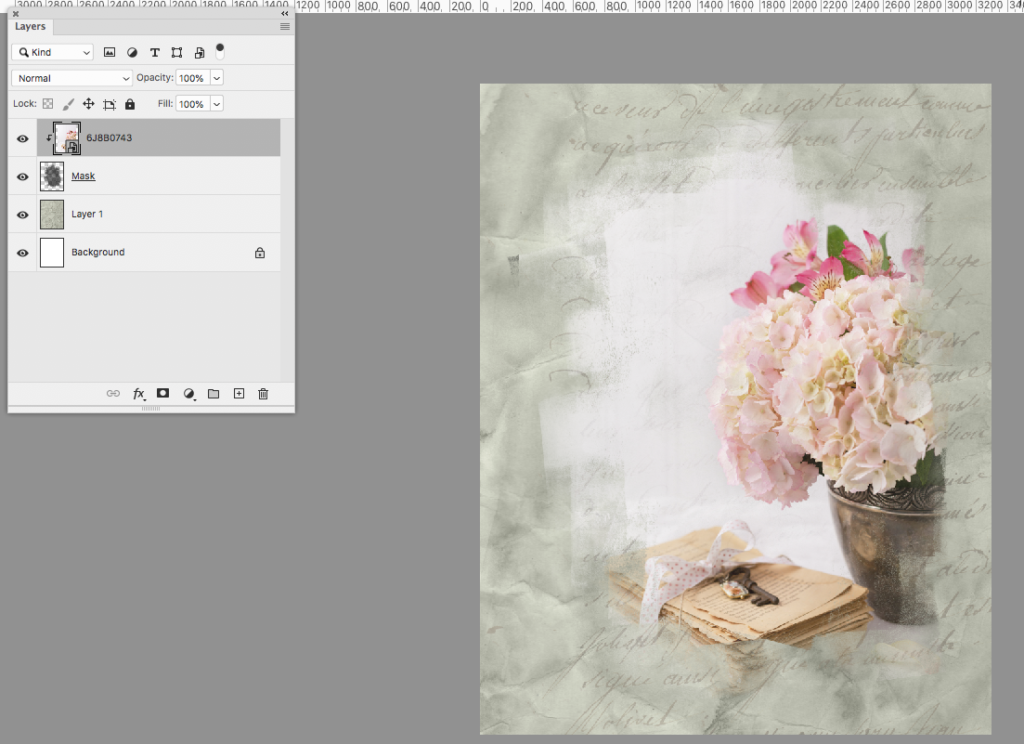
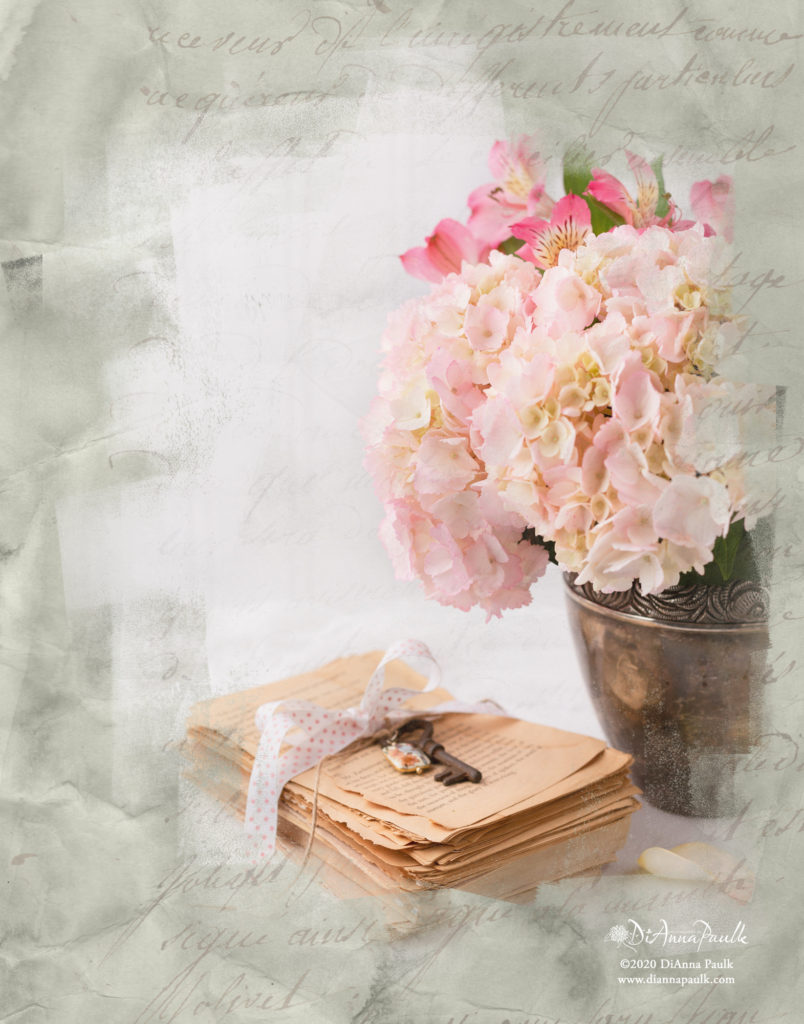
At this point you can resize/transform the mask and/or the image to achieve your desired results. Flatten and save in your required format.
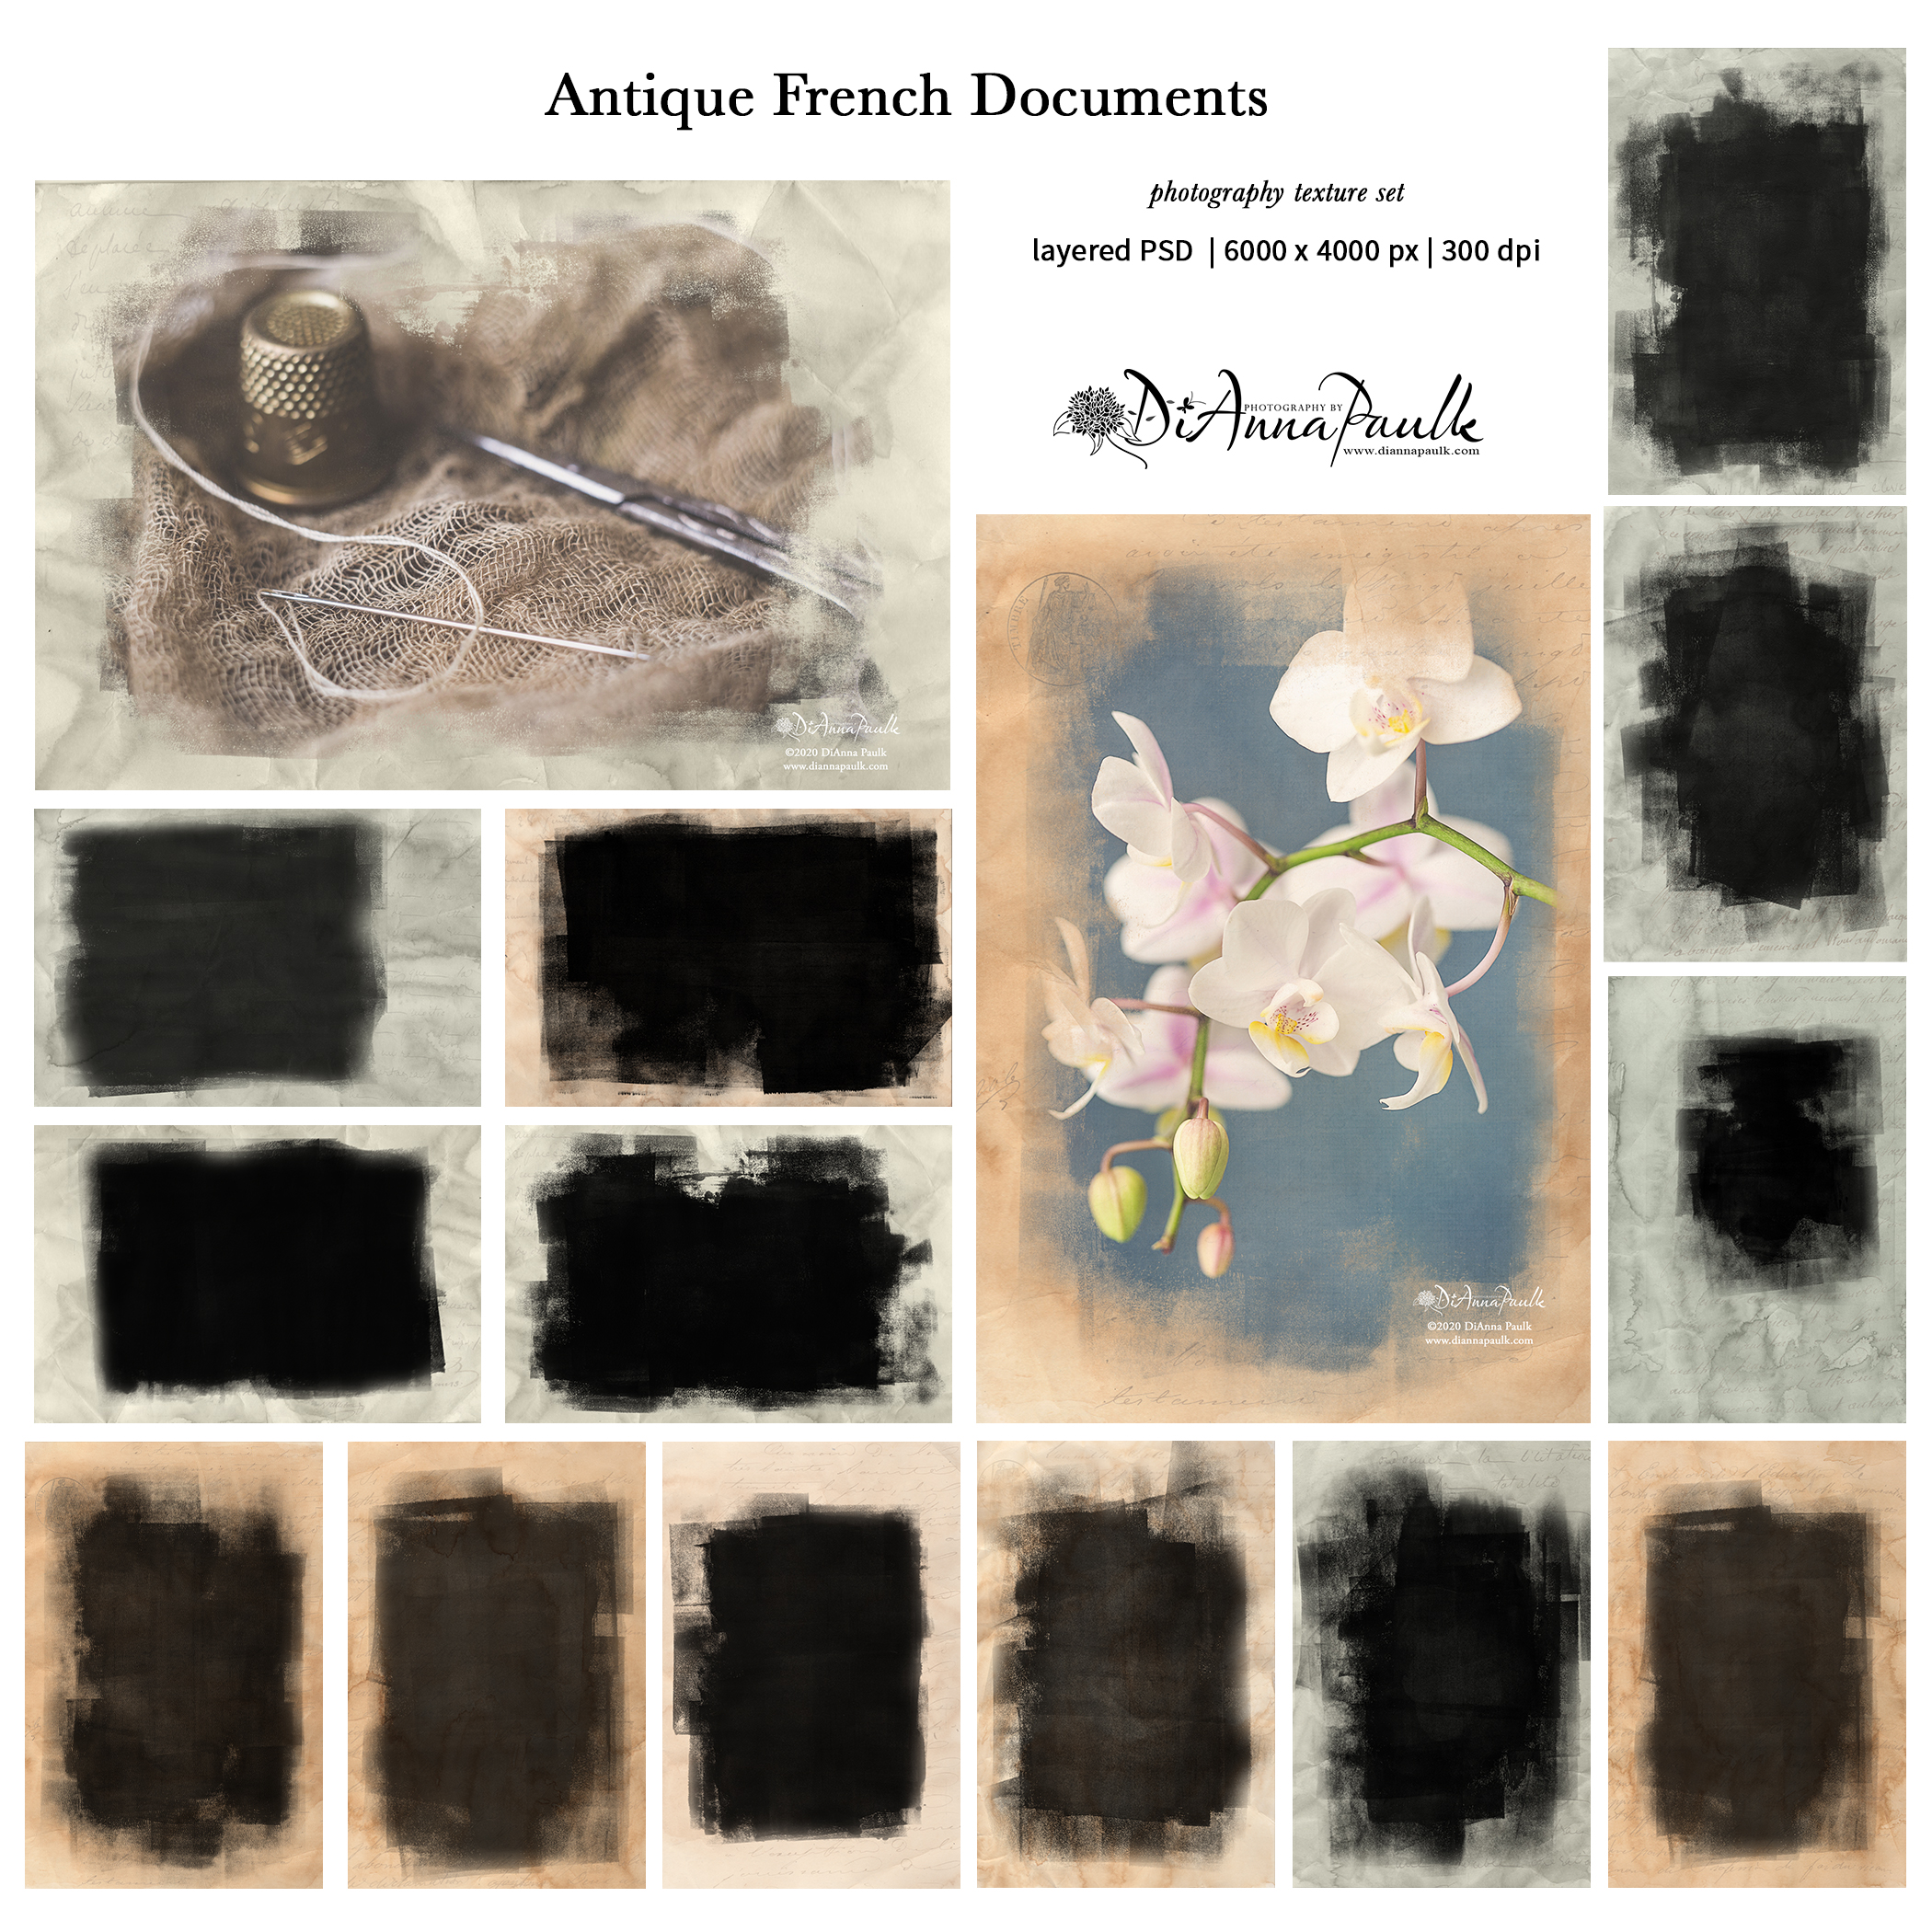
Available through my Etsy Shop: This set is available in the Etsy Shop: https://www.etsy.com/shop/DiAnnaPaulkPrints
