
When and How to Mask Off Part of a Texture
Delight Texture Set
Two new texture sets went in the Etsy Shop this week which leads to this second blog post on using textures.
I will rarely use a texture at 100% on a photograph and will definitely not leave it at 100% on the main subject of the image. After years of using textures on my photographs to give them a little artistic boost I have landed on two ways to do this in Photoshop. I use Photoshop exclusively to work with textures so can’t offer any advice on other programs.
Method One: Masking
The first and likely more common way is to mask off part of the layer.
To add a layer mask to your texture, click on the black rectangle with the white circle icon at the bottom of the layer’s pallet or hit control + M.
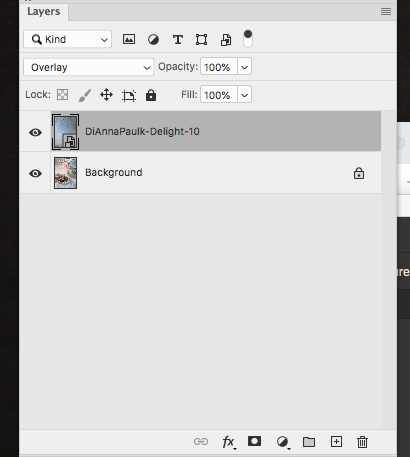
Then use a large, soft black brush to paint off part of the texture in the desired areas. I usually start with my brush at 100% opacity for the main subject, then drop it to 50% opacity for the area near the main subject, and finally down to 10-20% opacity to expand the masking to a gradual drop-off. You can see that the darker areas of these masks show where I was using a greater opacity and the lighter areas were at a lower opacity. The texture is still at 100% in the white areas. If you accidentally take off more of the texture than you like, just switch the brush color to white and paint the texture back on. If you stack more than one texture, as I often do, you can easily copy the mask by holding down your Option Key, clicking on the mask (not the image icon) and dragging it to the new texture layer. Then you can adjust as needed. You can see from this screen shot that my mask wasn’t exactly the same on both texture layers.
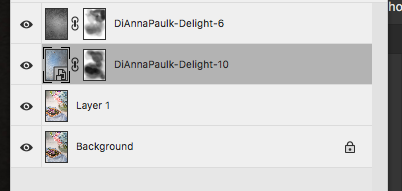
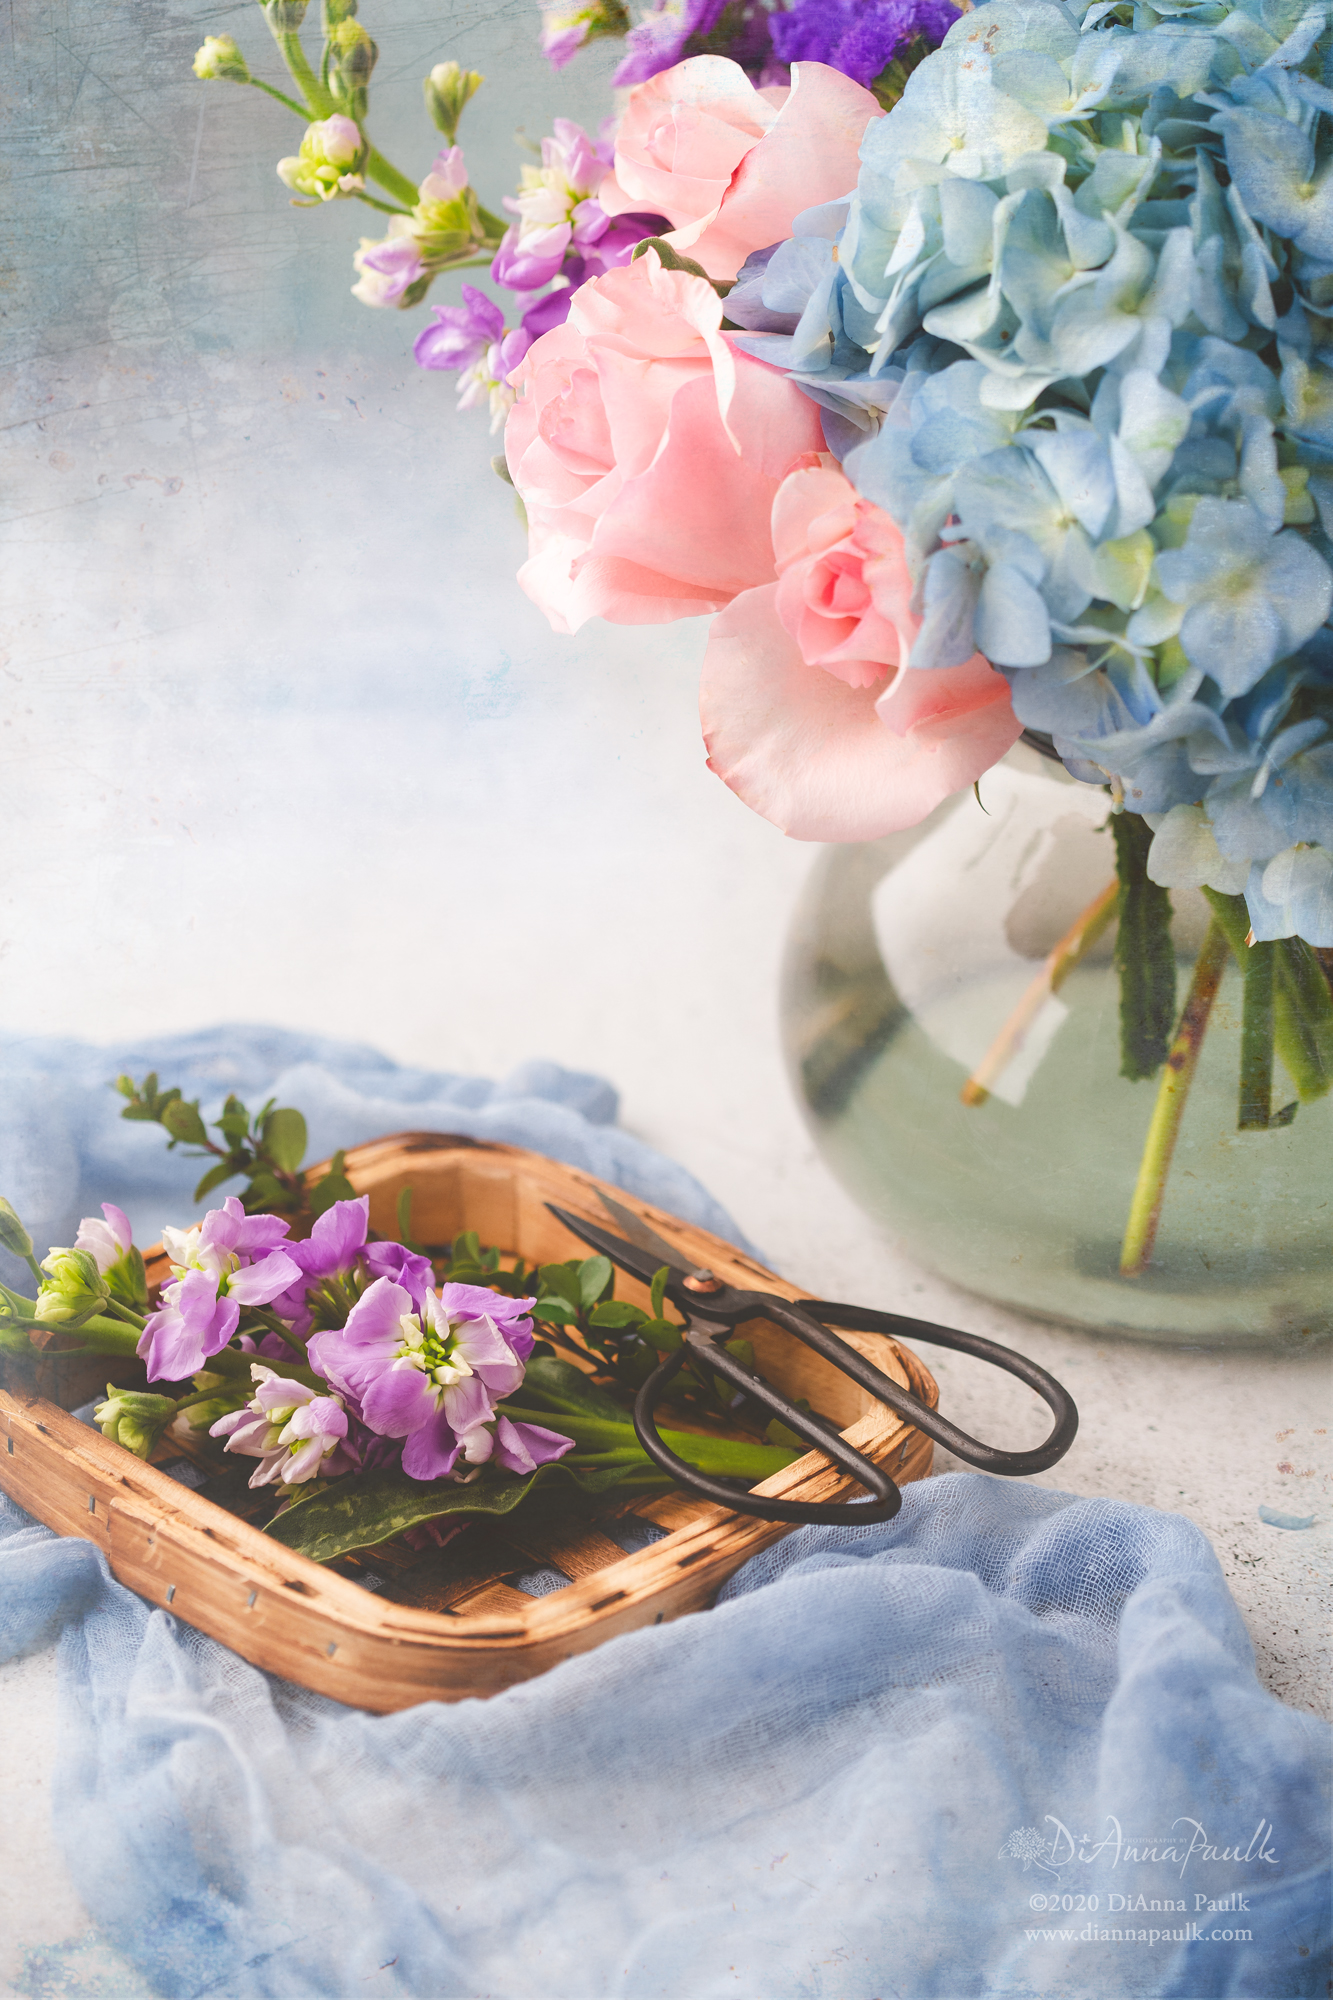
Here’s the final image. Delight 10 was applied in hard light mode at 100%. Delight 6 in black and white was added and applied in overlay mode at 39%. (We’ll take a look at modes in a future blog post.)
Method 2: Blurring
Sometimes a texture will add a color or haze to your image that you want to keep. If you use the masking method it takes off the color as well as the texture of the mask. So, I often use another method to remove the texture but keep the color tone.
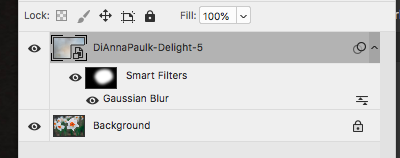
Use the lasso tool to select the area where you want to remove the texture. Make sure you’re on the texture layer and go to select > modify > feather. I shoot with a full-frame camera and have found that a radius of 250 usually works well with my images. You’ll need to experiment to see if that works on yours. Finally go to blur > gaussian blur. With preview checked, select a radius of your liking and hit okay. That will remove the texture and and leave the color effect on your image. Your layers pallet will look like this when you’re done:
I use this method so often I’ve created an action to go through the steps.
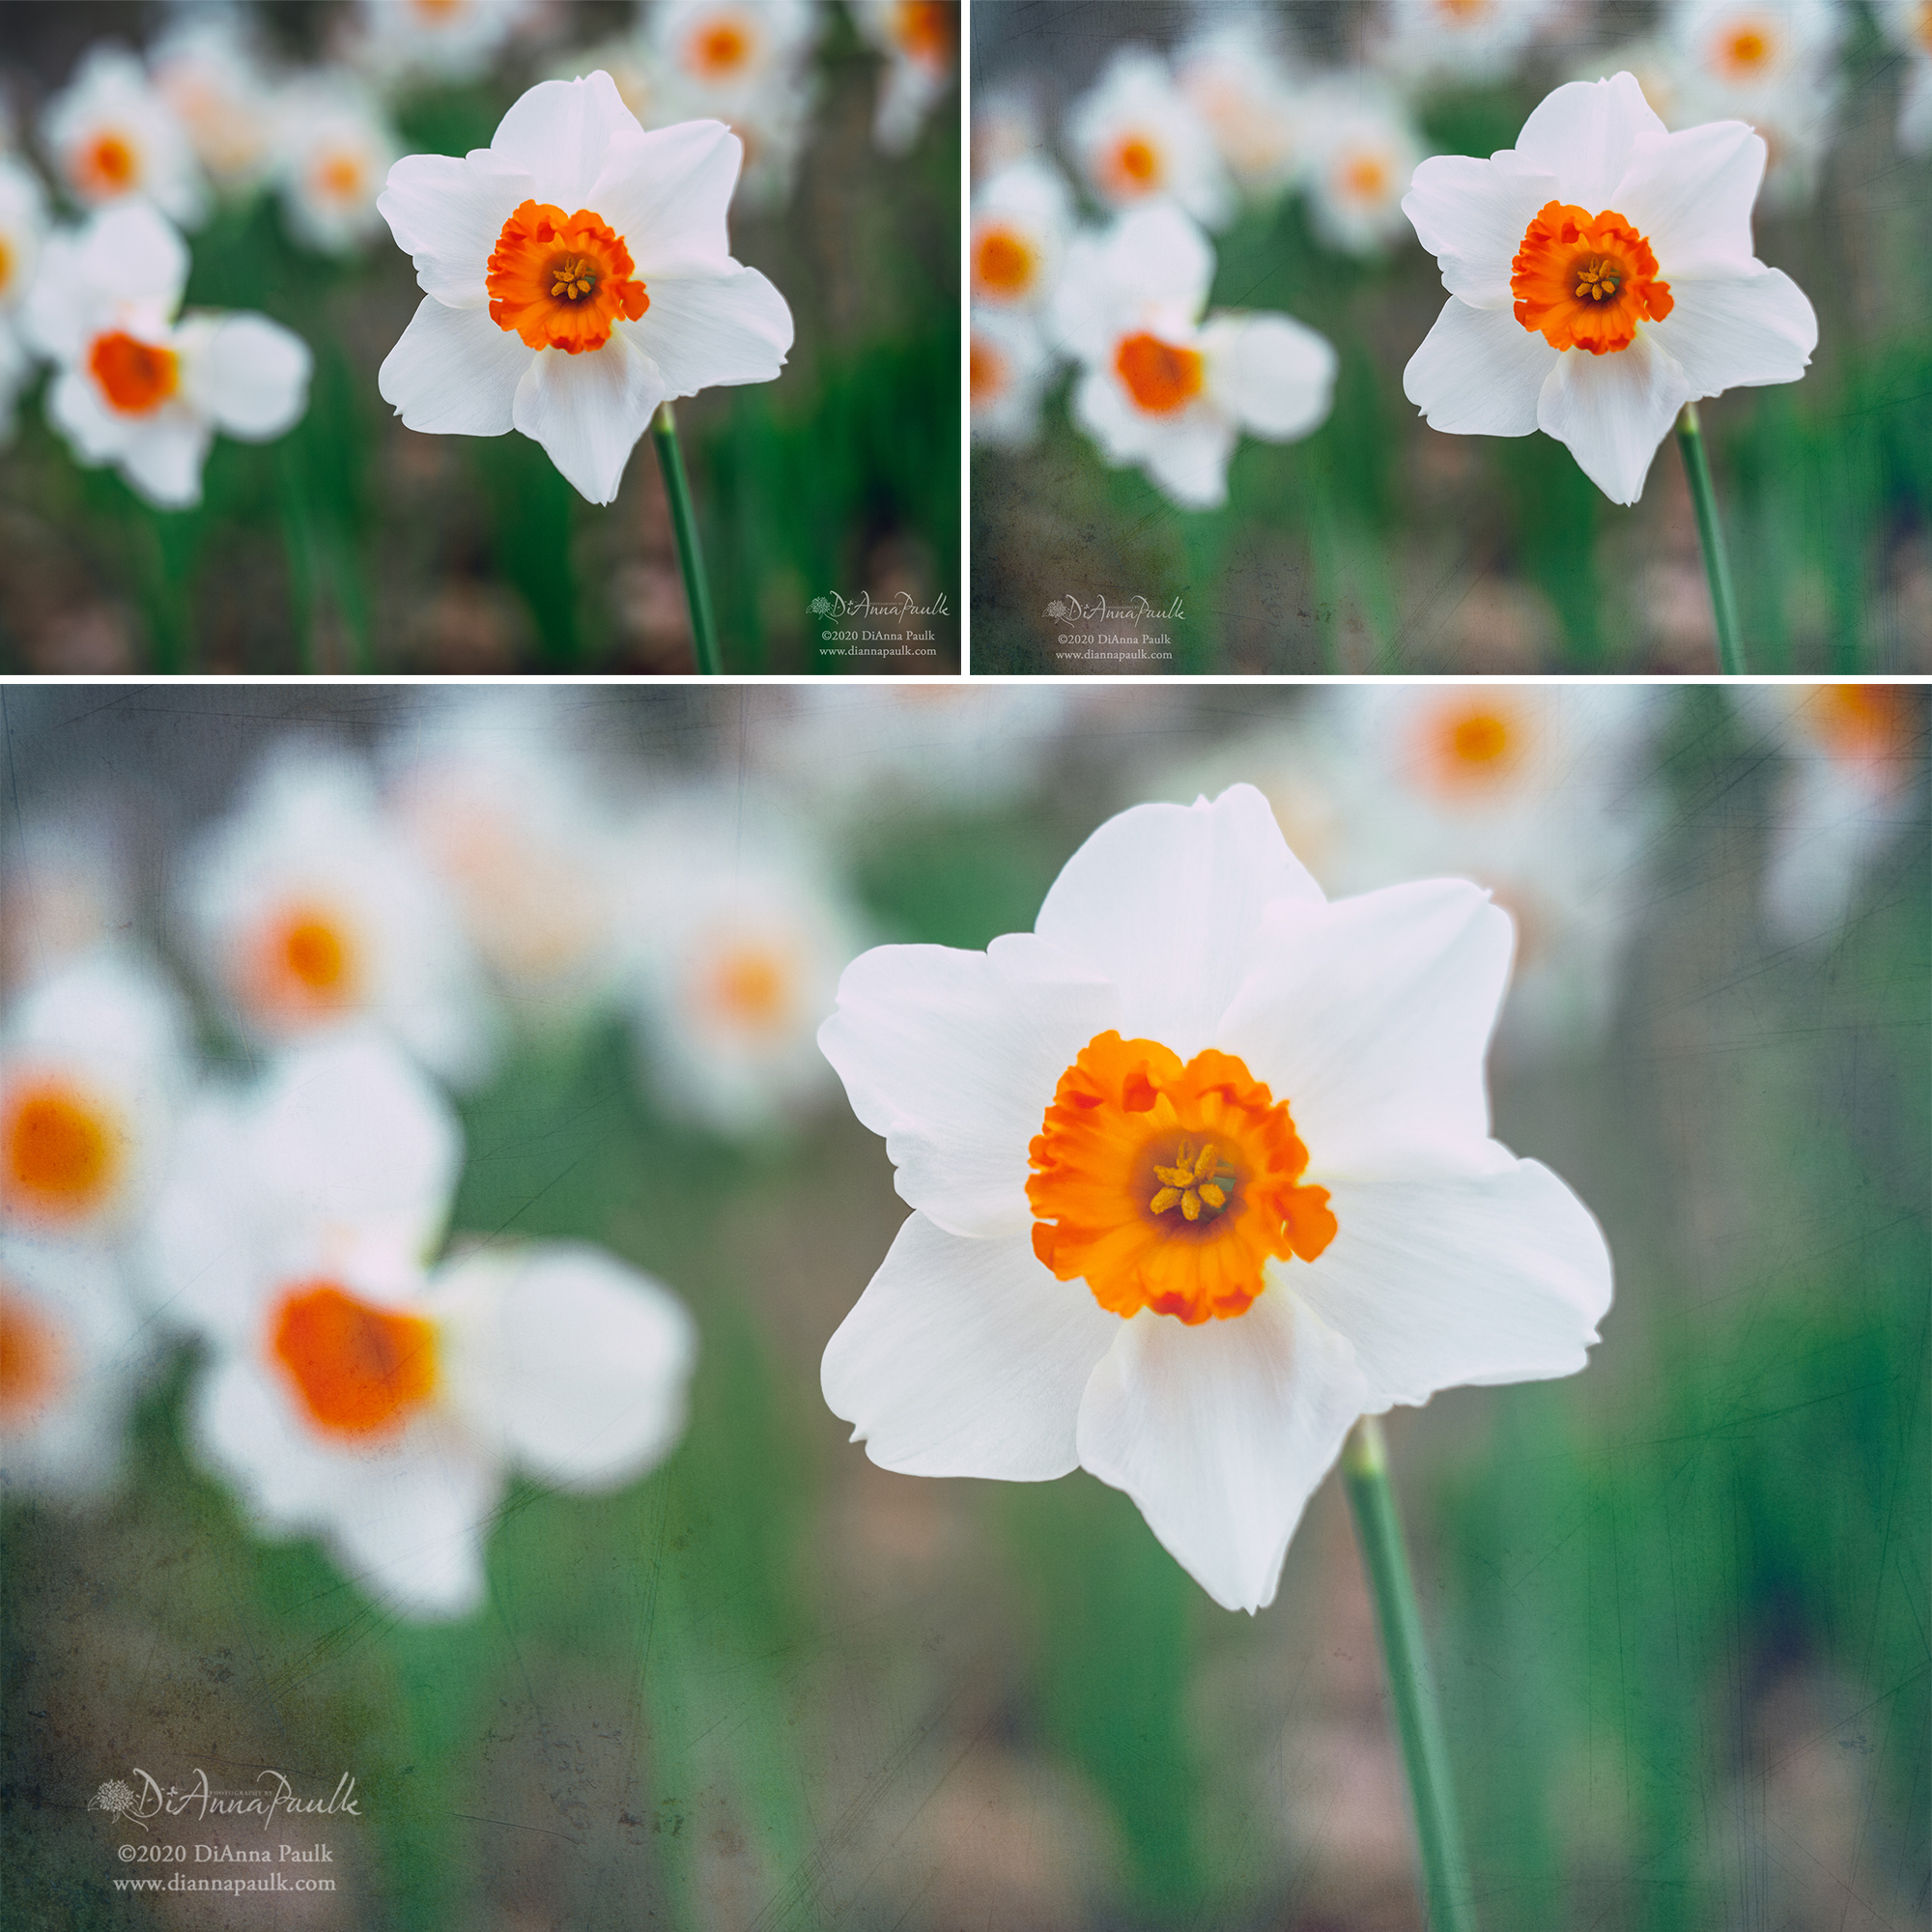
Here’s one example using the Delight 5 texture. The top left image has no texture added. The top right version was done with Method 1, the masking method. The large image at the bottom was done with the blurring technique. The texture was applied in soft light mode at 100%. Using the blurring method left the soft haze from the texture on the image while removing any lines or scratches.
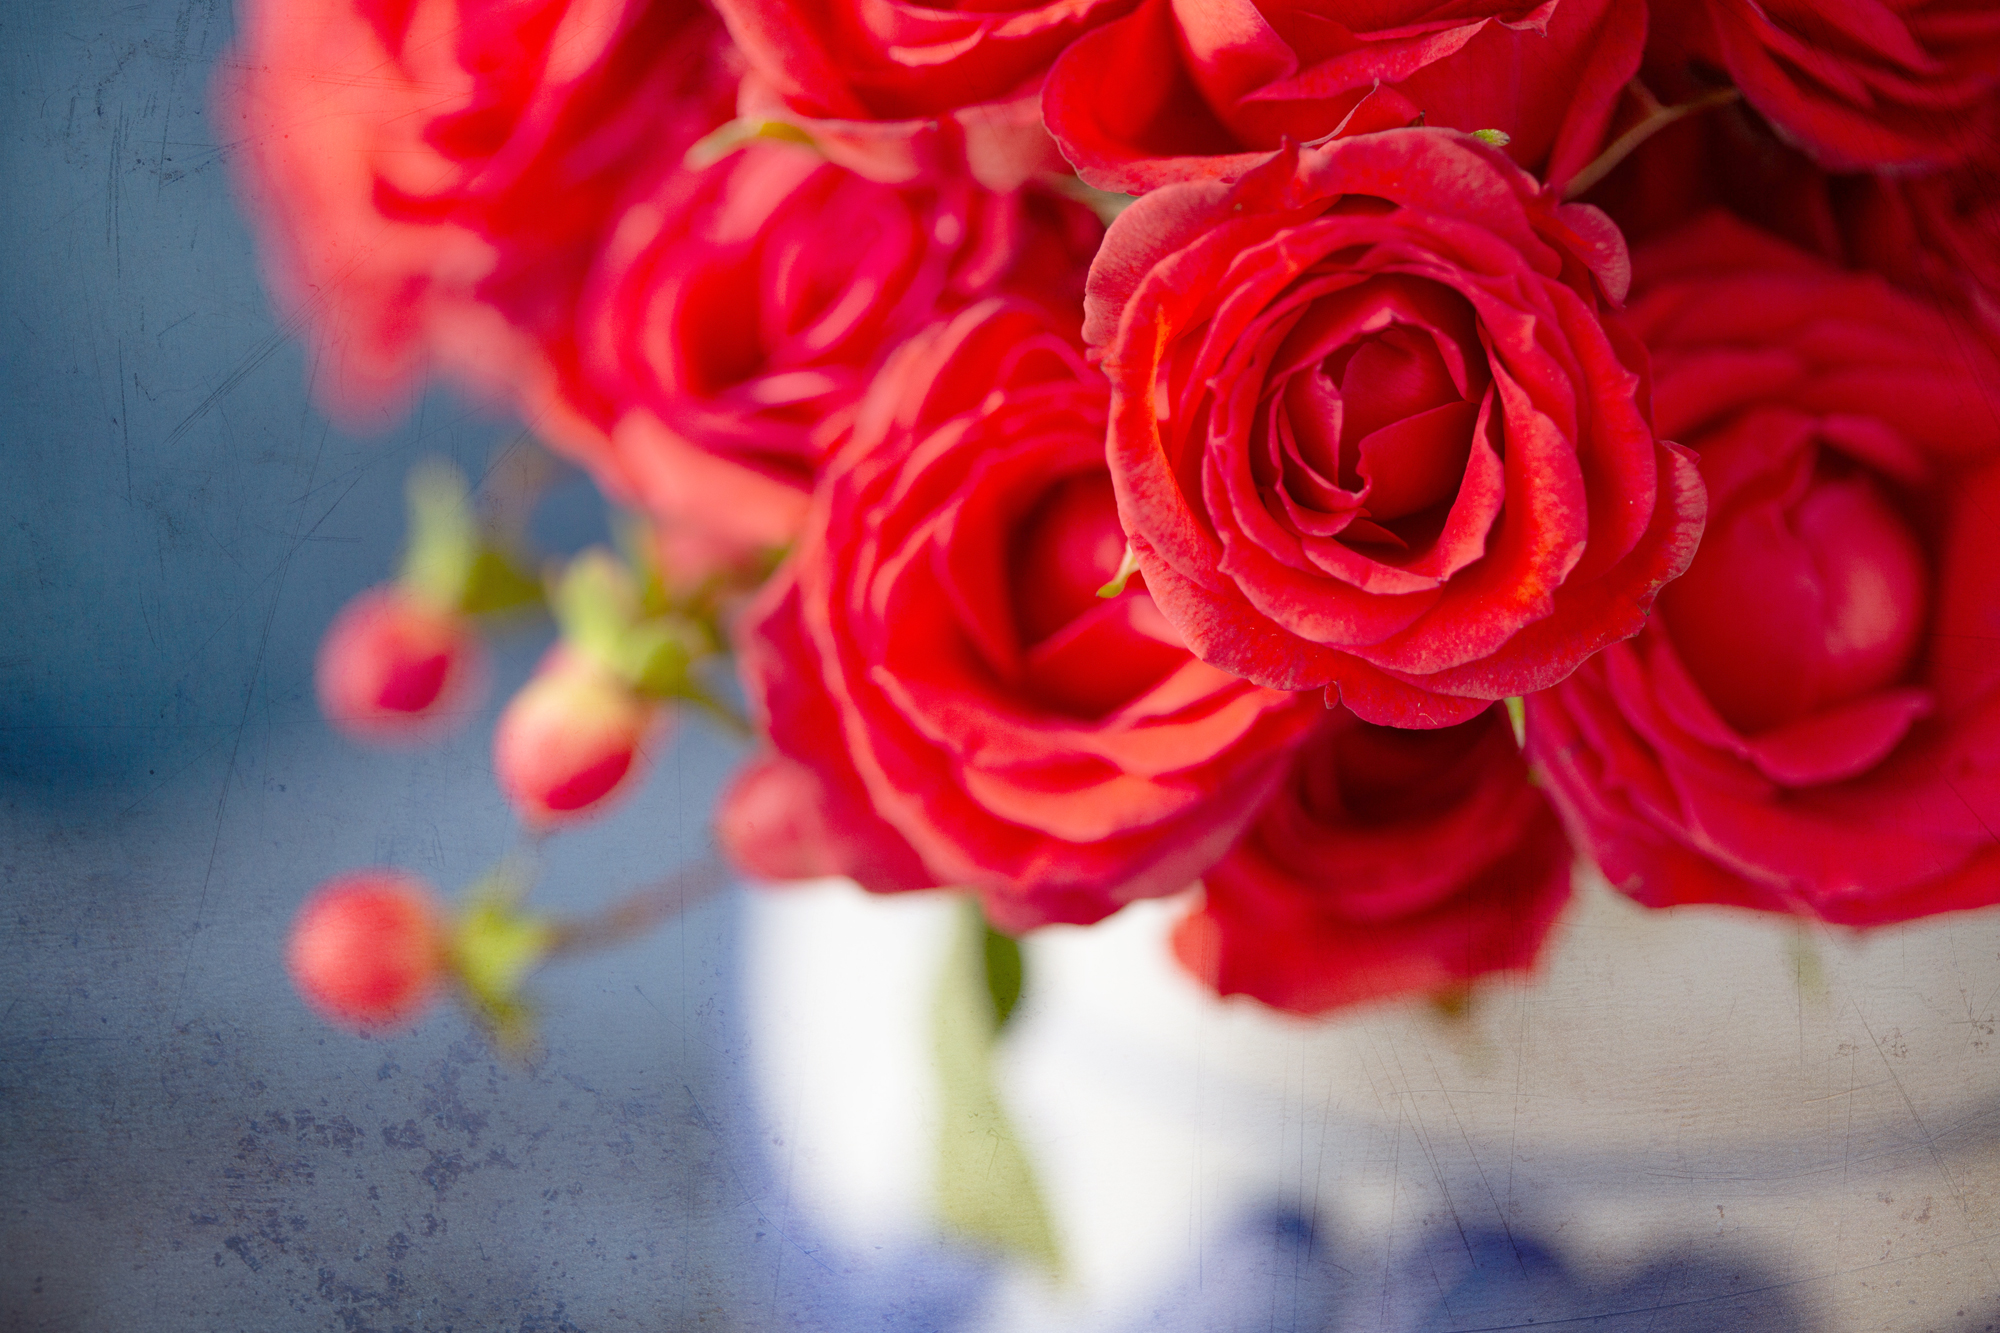
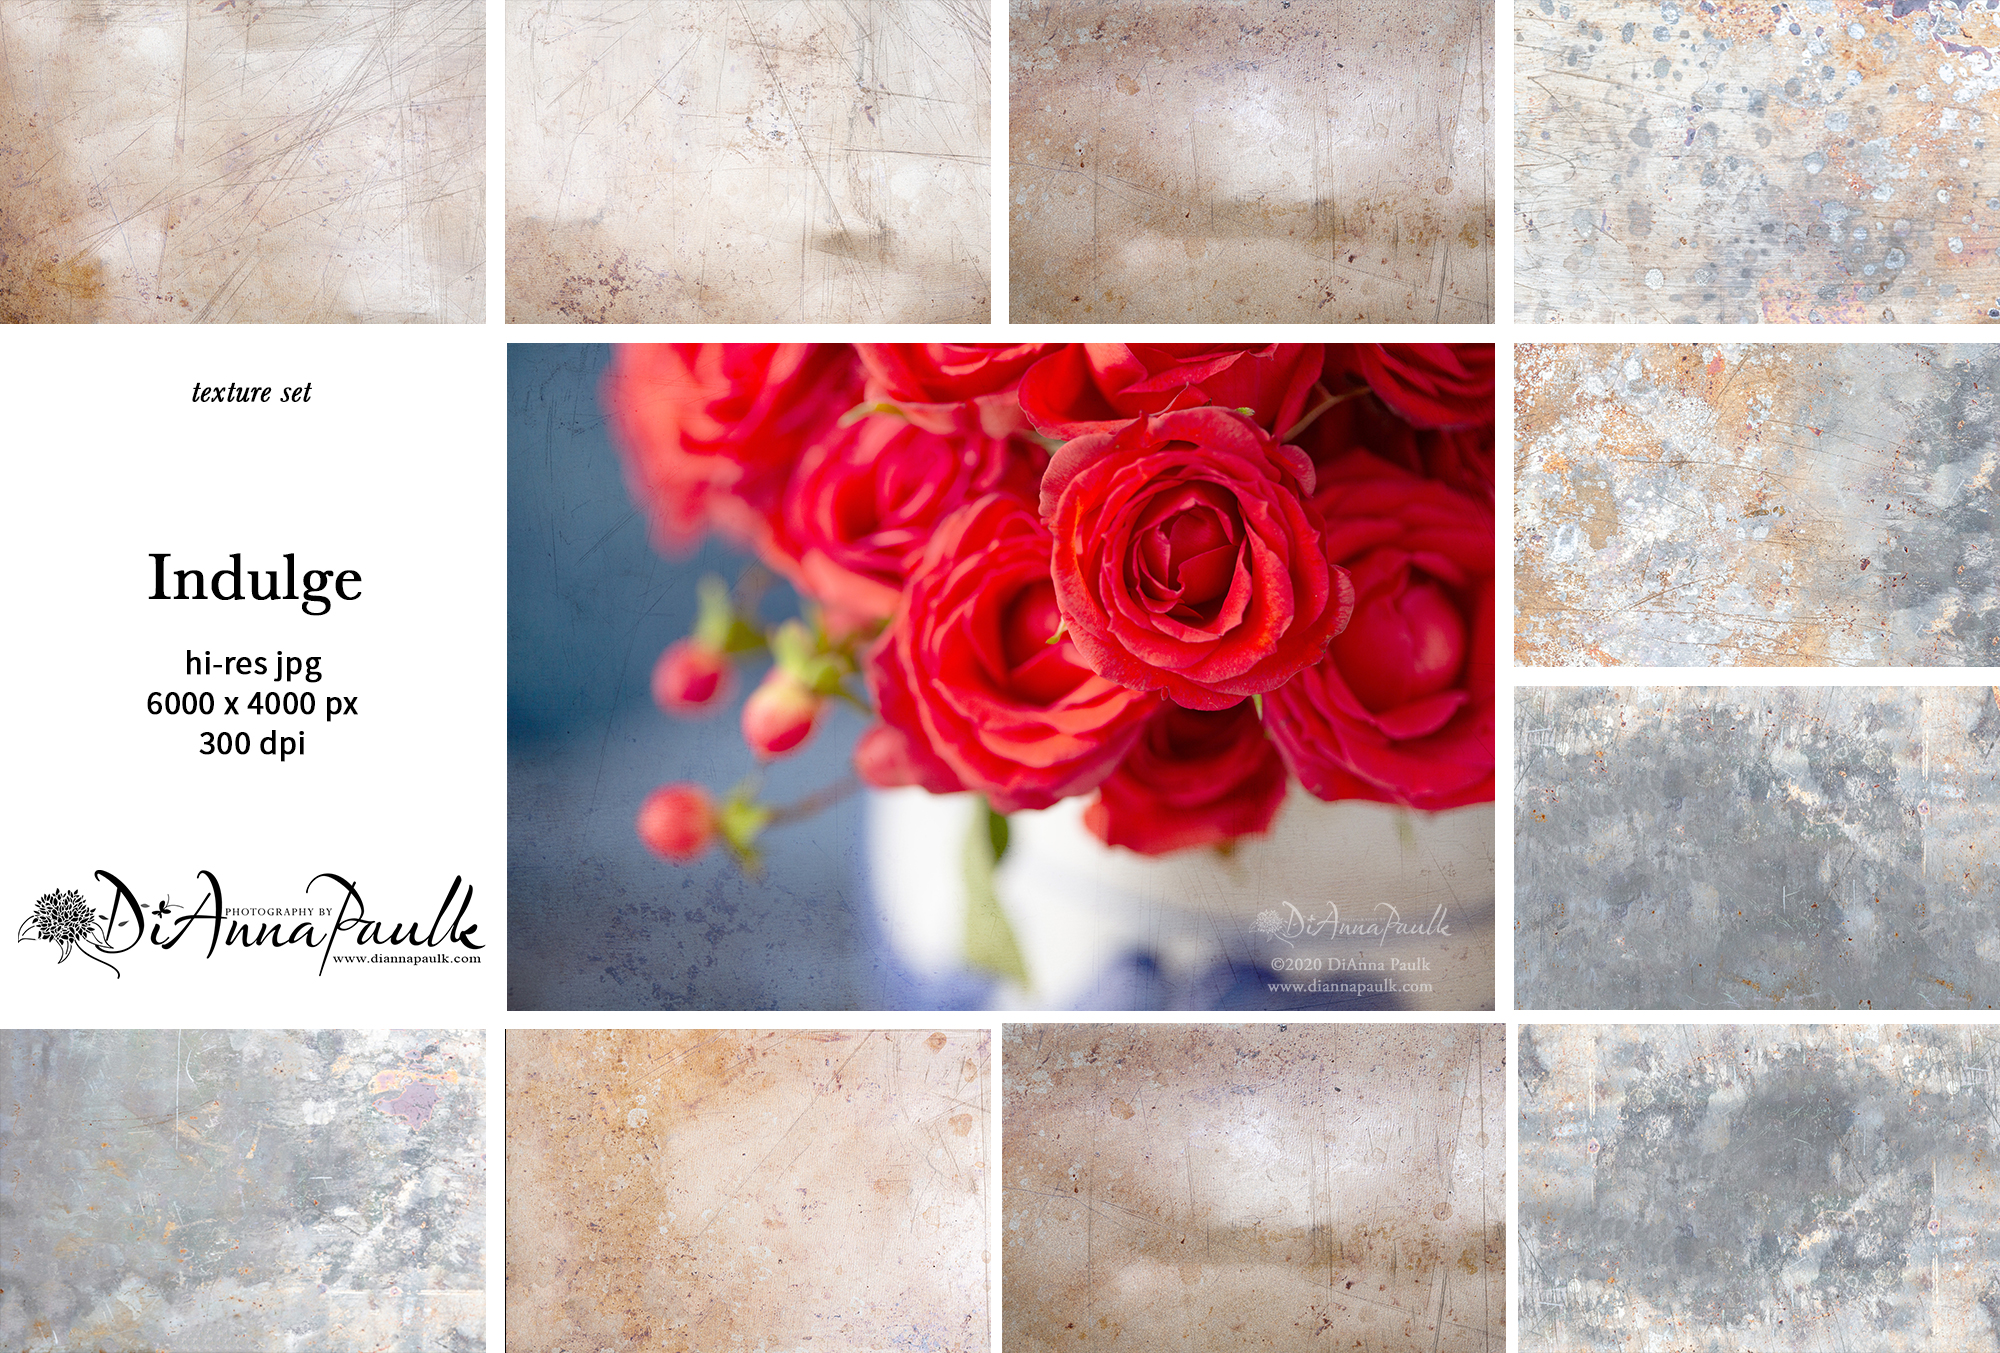
Indulge Texture Set
I also added this texture set to the Etsy Shop this week:
Both sets can be found in my Etsy Shop (https://www.etsy.com/shop/DiAnnaPaulkPrints). To thank you for reading to the end of the post I’ve created a special discount code for 20% off these two sets. Use the code VALENTINESDAY when you check out. It will only work with the Indulge and Delight sets and expires on February 14th. Enjoy!
If you missed the first blog post on using textures click here: WHICH PHOTOGRAPHS WORK BEST WITH TEXTURES?