This is the third installment addressing common problems noted during the judging of a flower photography show last year. As most participants were not professional photographers and were using cell phones to capture their images I’ve tried to gear this series of posts to that audience.
As mentioned in the last post, images out of focus were prevalent and kept many from being considered for placing. A second major problem was poorly exposed images.
What is Exposure?
Photography is the capture of light. Exposure is the amount of light that reaches the camera sensor. It determines how bright or dark the image will be.
If the lightest part (highlights) of an image does not have any detail because the image has been overexposed (too much light reaching the sensor) it is said to have “blown highlights.”
If the darkest part (shadows) of an image has lost detail because the image has been underexposed (too little light reaching the sensor) it is said to have “blocked shadows.”
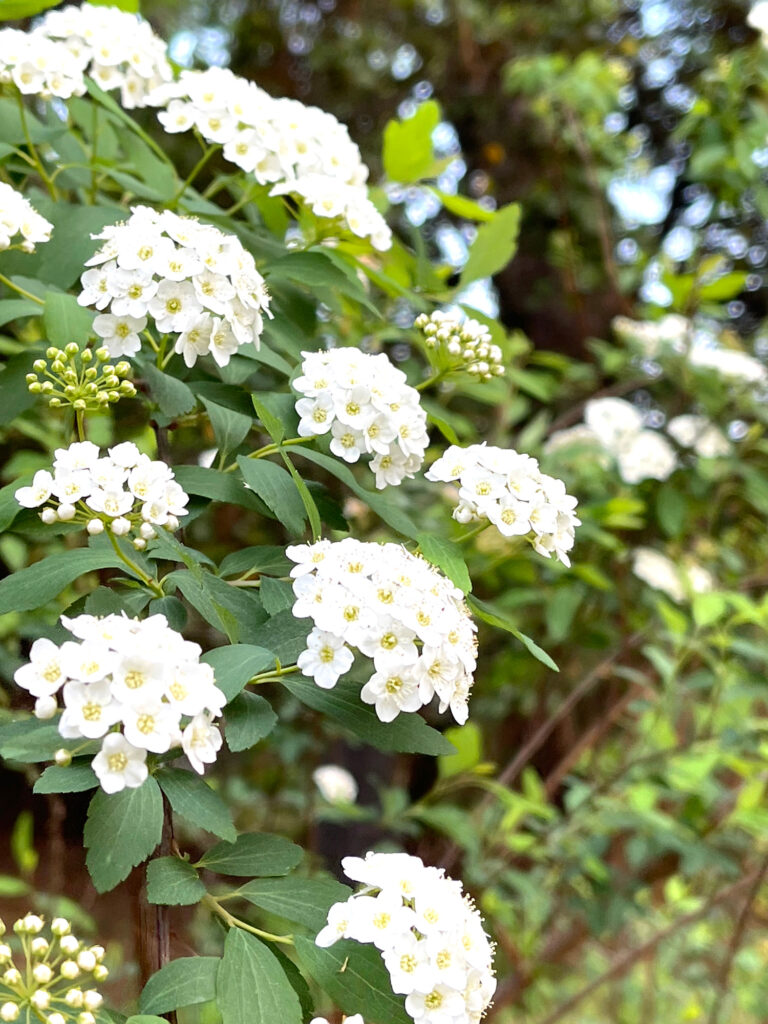
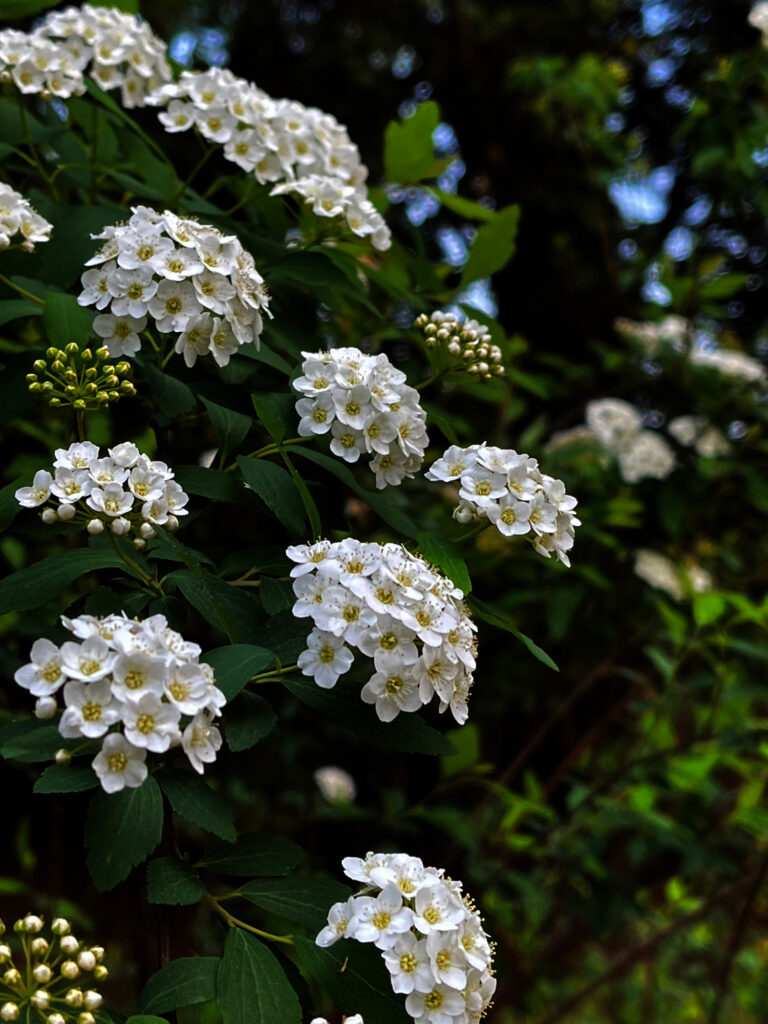

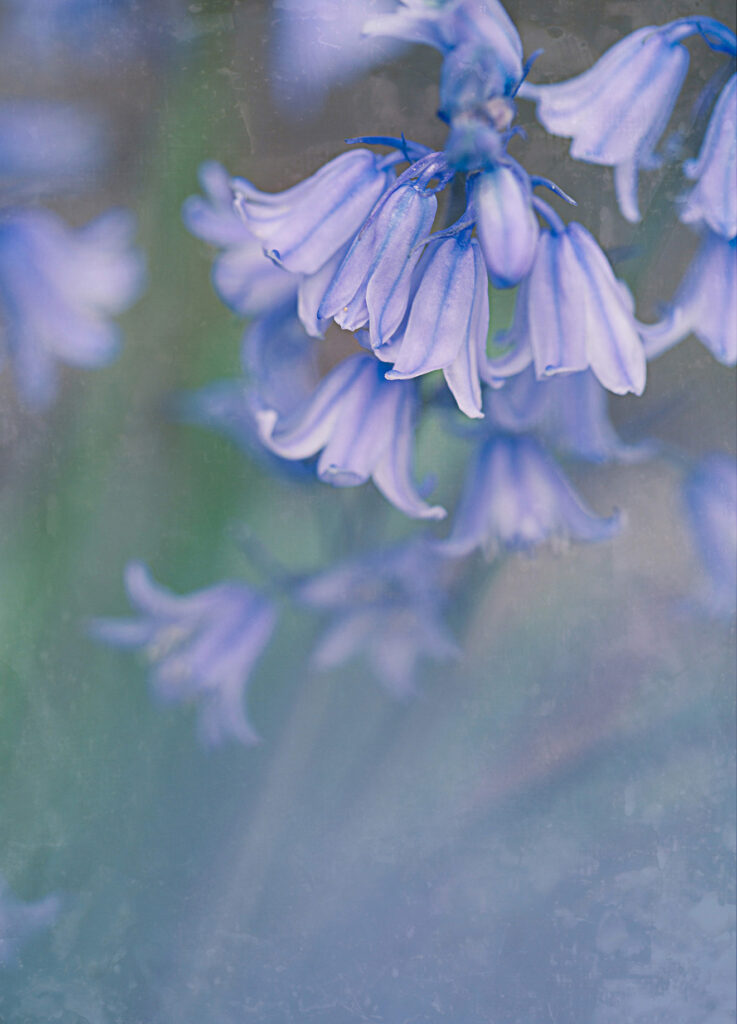
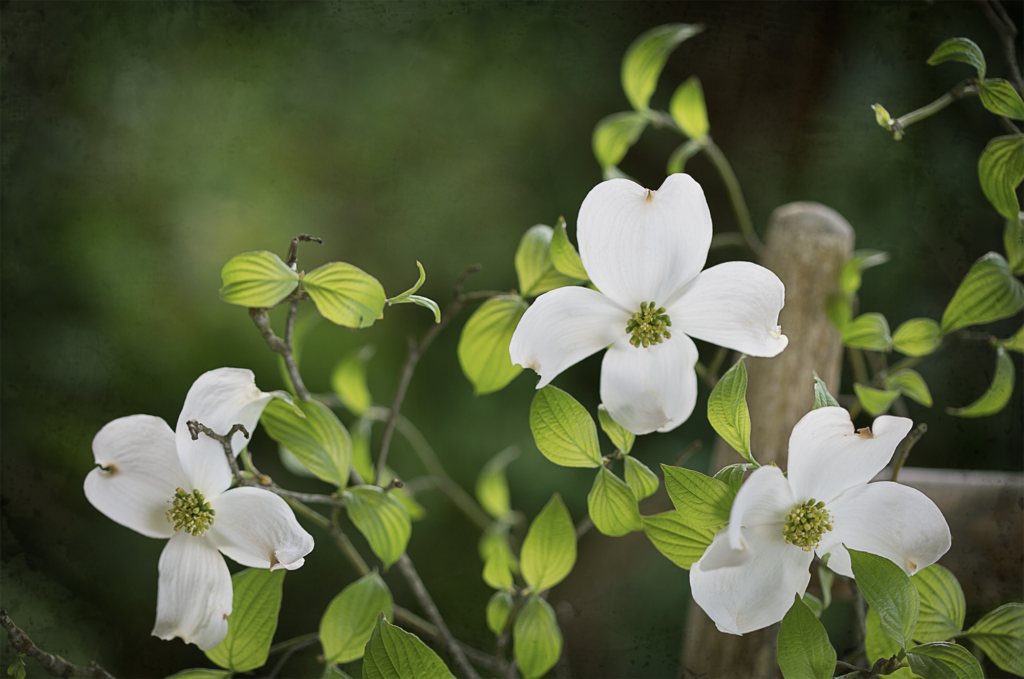
middle image – underexposed; no detail in the shadows
right image – good exposure; details in highlights and shadows
Adjusting Exposure
There’s really no need for me to reinvent the wheel, so I’d like to point you to some phone photography experts to demonstrate how to adjust exposure using a cell phone.
For iPhone users, this video reviews what was discussed in the last blog post on focus and also demonstrates how to adjust exposure: https://www.youtube.com/watch?v=VcDJmQHRW54
For Android users, this is the video I linked to in the last article on Focus. He also demonstrates adjusting exposure: https://www.youtube.com/watch?v=2ikit5sXt0o
Ways to Improve Exposure
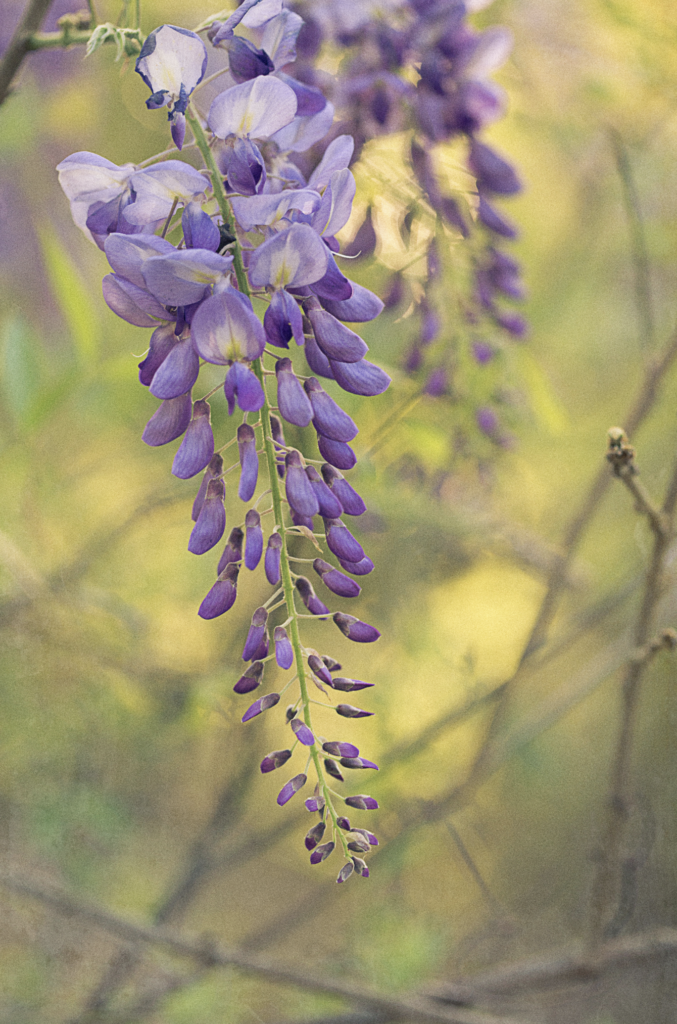
- Shoot early morning or late afternoon. One of the easiest ways to achieve good exposure is to avoid harsh lighting. The best lighting is usually early in the morning or late in the day. When the sun is overhead in the middle of the day is usually considered the worst time to take photographs. Our eyes are able to adjust for the contrast between bright and dark, but cameras — even the expensive ones — are not so good at it.
- Avoid composing a shot with extreme contrast in the light and dark, i.e. there is both sun and shade in the composition. Look for an area with “open shade,” an area that blocks direct sunlight but is still illuminated from the surrounding light. For example under a tree or in the shadows of a building. Avoid speckled lighting under trees as that produces areas of high contrast, too.
- If you must shoot in direct sun find ways to diffuse the light:
- ask someone to hold up a white sheet
- block the light with your body
- if it’s planted in a pot that you can pick up, move it to a covered area or shady spot
- If the sun is in a direction that will allow it, move so the sun is behind what you want to shoot. This is called “backlighting.” If your subject goes too dark with backlighting, grab something like a silver or white windshield sunshade to bounce light back into the subject. If I’m out at a garden somewhere I will purposely wear a white shirt to help bounce light back into a backlit subject.

Closing Thoughts
At this point in the original workshop presentation I introduced the histogram. Now I realize that qualifies as too much information. So, this series has morphed into more than the originally planned 5 posts. I’ve decided to add at least one more post on using apps to take and edit your images. I’ll address histograms in that post.
The next blog post will address composition.
*These images were not taken with the cell phone but are presented to illustrate the suggestions in the post.